Applying For The US Visa: Here's A Detailed How-To Guide For Malaysians
Don't freak out, it's really not that complicated!
By Eunice Tang — 07 Nov 2017, 08:06 PM
When I was applying for my American visa last month, I was intimidated by the prospect of fumbling in the dark, without any guidance whatsoever besides the American visa application website… and no one to ask.
So I thought making a guide would be helpful for Malaysians who want to apply for a tourist/business visa to the US.
Also, Malaysia is so close to attaining visa-free status in our eligibility to the American Visa Waiver Programme! Surprisingly, and very annoyingly, the reason that Malaysia still has not achieved this status because applicants still do not know how to fill up the forms properly.
Here's the step-by-step guide which will hopefully ease the process of the application. It is fortunately a relatively straightforward and painless process!
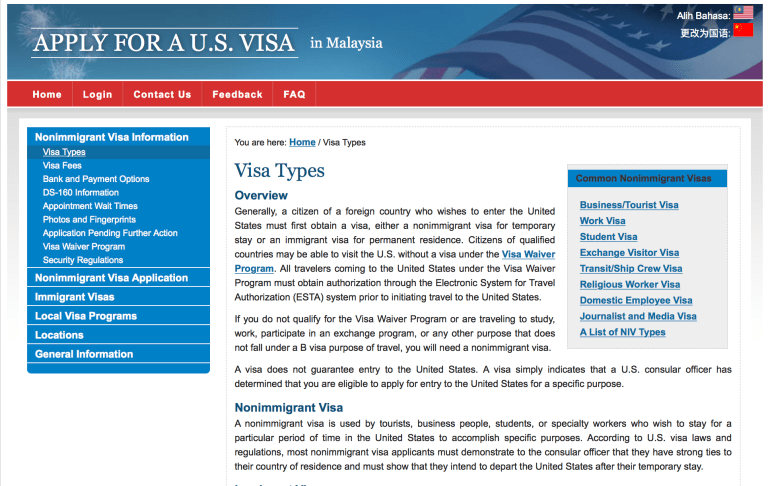
1. Visit the website
Go to http://www.ustraveldocs.com/my/.
If you are going for a purpose of a holiday, you are applying for a nonimmigrant visa.
You will then be redirected to the Malaysian page, with Steps 1-6 for the application clearly laid out on your screen.
Basically, all the information, specifics and details are already laid out in this webpage. But sometimes it can be a bit overwhelming, so here I shall break down the steps for you…
2. Understand the process
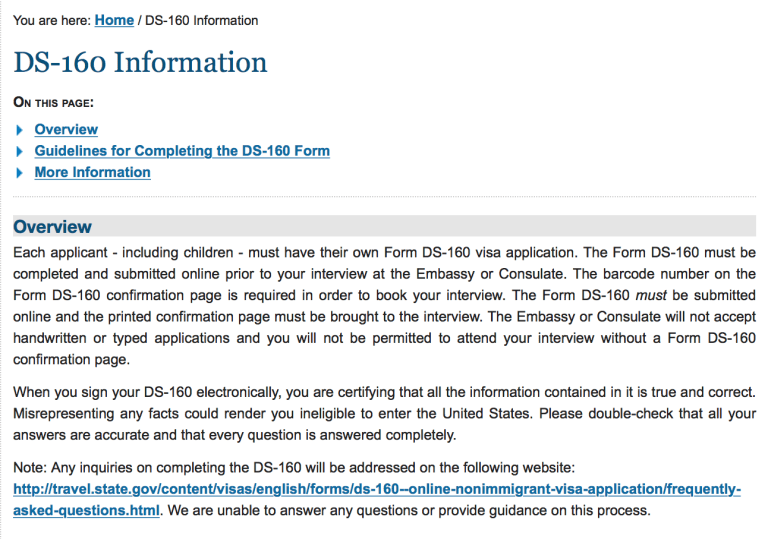
1) You will firstly need to fill in the DS-160 form.
2) Then you will need to pay the visa fee before being able to schedule a visa appointment. It costs USD160 for a Tourist (B-type) visa (RM688 when I applied). You can pay your visa fee via the Internet using Electronic Funds Transfer or JOMPAY, and if you prefer to pay cash, bank in the fee at Ambank. You will receive a confirmation. KEEP THAT CONFIRMATION as you will need it during the interview.
3) You will then be able to schedule the appointment after your visa payment has gone through. It will take approximately 4-6 hours via the EFT/JOMPAY, and one business day if you pay by cash at Ambank.
4) Go to the separate website for scheduling the interview at https://cgifederal.secure.force.com/?language=English&country=Malaysia (the webpage can be found in the bottom of the ‘Schedule my Appointment’ section on the Malaysian US Visa Docs webpage mentioned above.) Create an account and schedule your appointment!
5) You will then need to attend your interview on the date and time that you had scheduled. Do be on time.
3. The details
i) Filling in the DS-160 form
So now for the interesting parts: filling in the DS-160 form and scheduling for the interview.
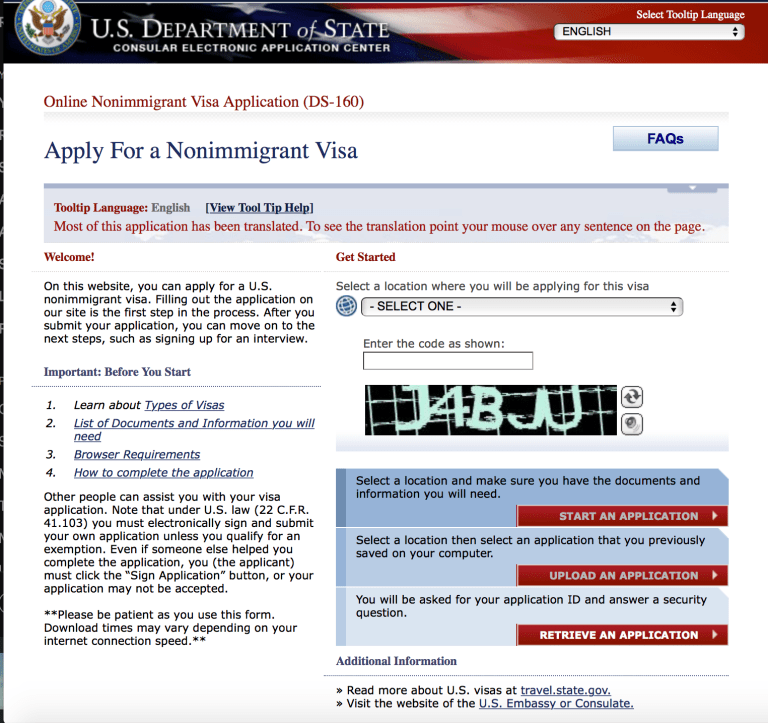
The form is rather straightforward to fill in. You just have to double and triple check the information you have keyed in before you submit the form, to prevent any typos or mistakes, as well as make sure that all information is 100% TRUE, ACCURATE and CORRECT according to your status and your purpose of visiting the States.
Also, the US or Malaysian Embassy cannot help you to fill in this form, so it is critical to be accurate.
You have all the guidance in filling in the form on the official website and the FAQ here.
The difficult parts that I found while filling in the form are:
Personal Information
- Full name in Native Language: you can put in your name in Chinese characters if you like. I did, but if you don’t know it, then it doesn’t really matter.
- If you have an alias, make sure you put it in as well.
- National Identification Number: put in your NRIC number.
- For Malaysians, the passport book number doesn’t apply (cause we don’t have one!) so just put 'Does Not Apply' in the box and you are good to go.
- You are also the principal applicant (meaning main applicant) when you apply for the visa, this especially applies if you are applying with children.
Purpose of Trip
- Select the B1/B2 category as you are travelling for tourist or business purposes.
- Enter your intended date of arrival (if you had not booked your flight ticket prior to applying for the visa, you can just put in an estimate date).
- Enter the address where you will be staying throughout your trip – it can be a hotel/family or relative home.
- For person/entity paying for your trip, if you are self-funding, choose SELF, if you are not paying for your trip, select OTHER and answer accordingly, eg. company/child.
- Enter their phone numbers and email addresses as well.
- The above also applies if they are your primary contact person when you are in the US.
- If you have other people travelling with you as well on the trip, enter it on the form as well.
The rest of the form is pretty self-explanatory. The final part of the form comprises of background security checks questions. If you are not a (potential) criminal in any sense, select NO for all of the options.
You will be prompted to upload a photo of you – in a white background – onto the system. The system has cropping tools that you can download and use. If your picture doesn’t pass the system’s clarity scan, just bring a physical copy of your photo (size: 22mm x 35mm) to the interview.
You have to fill in the form WITHIN 20 MINUTES, else you will be automatically logged out. You have to keep a note of your Application Number on the upper right hand corner of your screen during the application. No email correspondence will be given to you during the entire process of filling in the form, so it’s SAVE or lose all your progress.
Be sure to submit the form in due time – or remember your application number – to log back in later if you are not able to finish it in one sitting.
You will not need to bring in the form to the interview, as it is electronically sent into the system. You will, however, have to bring in a confirmation of your form submission (which will be emailed to you).
ii) Scheduling your interview
Once your payment has gone through, you can then schedule your appointment. I was lucky I got my appointment the next week after. Sometimes appointment slots may only be available two weeks from the day you want to schedule the appointment. If you are tight on time, be sure to apply for the visa early, as you may not be able to get the date that you had initially thought you could!
There are a couple of spaces for each time slot throughout the day, so if you are travelling with a partner and doing your visa with them, you’ll be able to choose the same time slot as them. But only family members are able to be interviewed together – boyfriends and girlfriends unfortunately don’t count!
4. Preparing for the interview
The documents that are required are stated in your appointment confirmation page that will be sent to you.
Compulsory documents
1) Interview appointment confirmation letter
2) DS-160 confirmation page
3) Visa fee payment receipt
4) Passport
5) One recent photo (22mm x 35mm, white background only)
As I was travelling as a sole female to the United States, I had wanted to make sure that I would not be denied a visa if they thought I was dodgy in my documentation. So I had prepared a number of supporting documents to bring into the interview. I am still a student, so I had prepared documents to prove my status and identity:
6) University degree and recent transcripts
7) Bank statements
5. The interview at the US Embassy

So you have filled in your DS-160 form. You have paid the fee. You have set the date. You have gotten an appointment.
The next step is to actually turn up for the interview. Your interview will be in the American Embassy located at Jalan Tun Razak.
Note: The interview time on the Interview Confirmation page is not the time for your interview, but rather the time you should be at the gate! Don’t arrive too early either – you are only allowed at the gate 15 minutes before your appointment time. There are a few benches outside the Embassy to sit on if you end up coming earlier than expected.
I had my interview at 8.30am in the morning, as I had wanted mine last minute as I was going abroad the week after. The KL jam in the morning was a nightmare. I had barely made it on time, as it took half an hour to crawl through 4km in the traffic. Coming from Damansara, I was so nervous that I wouldn’t make it but fortunately I had made it on the dot!
You will be met by security officers outside the gate of the Embassy. There was no line to enter into the Embassy when I turned up – a benefit if you turn up that early – as you may have to brace a long line and queue outside the Embassy if you take on later slots. Security by the gate took my NRIC in exchange for a visitor tag to wear around my neck for identification. It was all a very formal (and a slightly intimidating) procedure. You are not allowed to bring in big bags into the Embassy. Your phone will also be taken away for safekeeping.
I was led into the gates and directed to walk straight into the main Embassy building, through the main doors into security checks. There was a security scan – like one at an airport – and then you are guided to proceed to the Interview Room for a document check and for the queue for your interview.
The interview is conducted at individual booths, and you are required to physically line up to wait for your turn for the interview – much like in a bank.
I admit I was fairly nervous before the interview, so I had Googled for some sample interview questions that the officers will ask for the night before to prepare for it so I could avoid unnecessary surprises.
The questions I got were fairly straightforward:
- What was my purpose of visiting the States? For tourism.
- What do you do? I’m a student, I study in London.
- How long more do you have to study? 1 more year.
- How long am I going to be there? 6 weeks.
- Where are you going in the States? Los Angeles and San Francisco in California.
- You have some relatives in the States? Who are they, and what do they do? My aunt settled there with her husband. Her husband works in a telecommunications company there.
"Thank you. Your visa has been granted. Enjoy your trip!" the officer told me right there on the spot. The questions were relatively straightforward, I had thought – and these questions are not unlike the ones that I would get at the UK border whenever I enter, even as a student there!
Tip: You have to be clear about your intentions of visiting, without contradictions. If you appear to want to sell a product or hint that you would like to indefinitely remain in the US, the interview will drag on. The interviewers are American government officers. If you can’t speak English, it’s not a problem – a translator will be provided.
6. Visa granted! Time to collect your passport.
When you schedule your visa appointment, you would have chosen your method for collecting your visa, be it in person or by courier. You will be reminded of this when you enter your interview appointment when you queue up for documentation checks, and they will hand you a piece of paper with all the pick-up information.
I had chosen mine to be picked up in the Aramex Center in Petaling Jaya, as I had heard that it was the quickest way for me to get my passport back. It took only 2 business days for the visa to be processed and collected. At 4pm two days after my interview, I received an SMS stating that my visa was ready for collection. I went immediately before the center closed at 6pm.
Sending by courier takes slightly longer, perhaps 3-5 business days before you get your passport back.
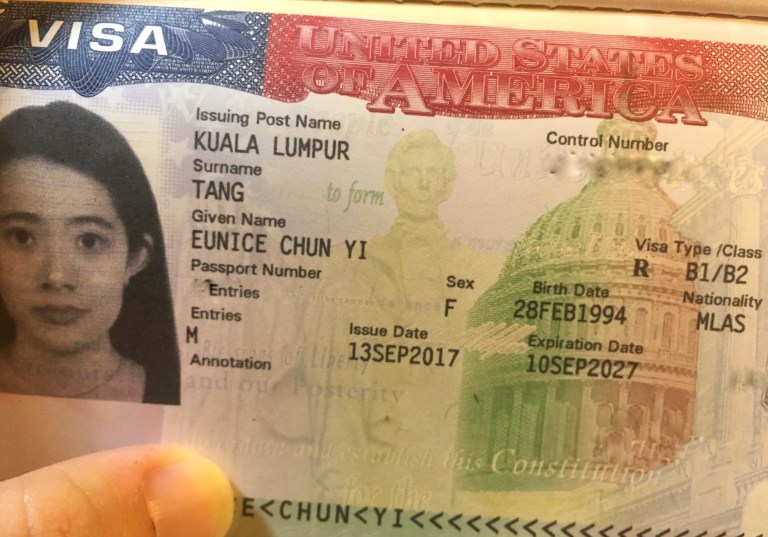
Bottom line is, I got my passport back with the US visa in it fairly quickly
And it’s valid for a whooping 10 years! Woohoo!
Now, that wasn’t so bad, was it? It’s a little hassle for this documentation buuuuut after you have done this, you’ll have access to one of the most iconic countries in the world.
Good luck!