
Hate Your Data Plan? Here’s What You Need To Do When Swapping Telcos
It doesn't have to be so hard.

Published For FIRST BY CELCOM - 07 Jul 2015, 10:00 AM


 Cover image via Startupstockphotos
If you've been wanting to change your mobile provider for the longest time but don't know how, don't worry. We've got you covered.

With the Mobile Number Portability (MNP) service being introduced in 2008, a user can now switch providers while keeping their existing number. Here's what you need to do:
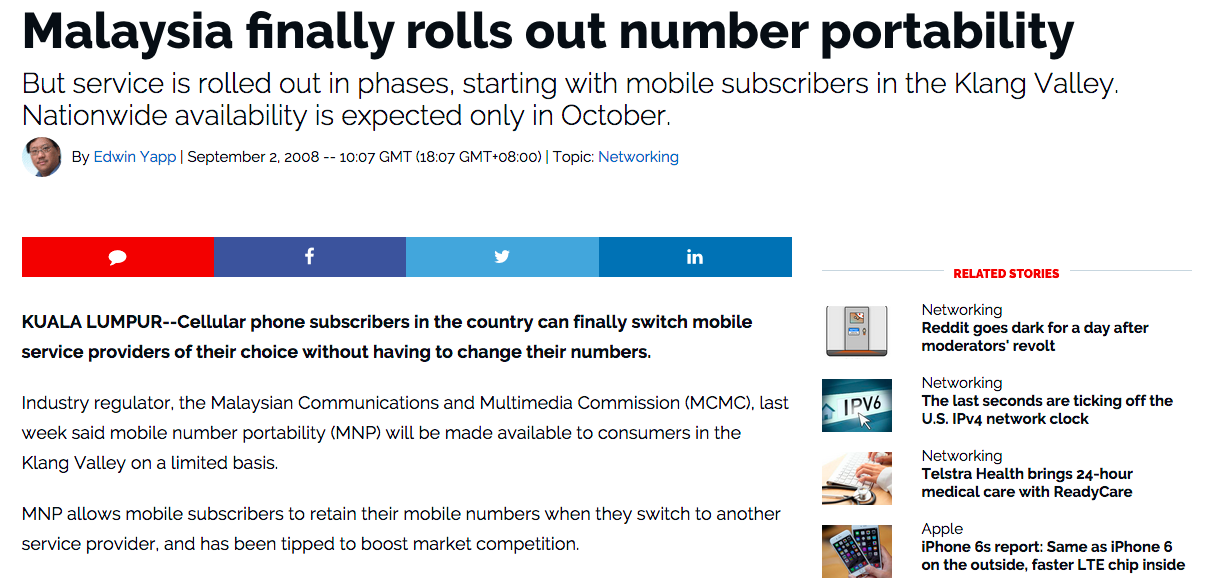
Image via ZDNet
Step 1: Be sure to carry out research on different service providers. You want to find one that caters to your needs. Be patient and watch out for seasonal deals.
Check out local tech sites such as SoyaCincau, Amaanz, and Lowyat.NET where they would usually compare plans between telcos.
Do watch out for seasonal deals as well. For example, from now until 16 July 2015, Celcom is running a First Basic 38 [promotion](https://www.celcom.com.my/personal/plans/basic38) where a user gets 3GB Internet + 3GB complimentary Celcom WiFi for life for only RM38 per month.

Step 2: Back up all your contacts and data on your phone storage or on the cloud

**For Android**:
1. Go to your phones settings
2. Scroll though this menu and press the tab that says Back up and reset.
3. Make sure the "Back up my data tab" is checked, and if it is not, check it right now.
4. This should ensure that your contacts are backed up automatically. As soon as you ad a contact to your phone it will get synced to your Gmail account.
**For iOS**:
iTunes will backup the contacts from an iPhone by default unless you have disabled it, you can make sure this happens by doing the following:
1. Connect the iPhone to the computer and launch iTunes
2. Select the device from the left-side list, and click on the "Info" tab
3. Verify that "Sync Contacts" is checked
4. Adjust any specific settings as necessary
5. Right-click on the iPhone name in the device list and choose "Back Up"
6. The final step performs a manual backup with iTunes and stores that backup on the local computer.
Step 3: Make sure you settle any outstanding bills with your old provider. Stop any auto debit payments with your bank.

Step 4: Once you've made your choice, head down to your preferred service provider's outlet with these important documents:

Step 5: Save the customer hotline of your new provider while waiting for your number to successfully port

Step 6: Wait for an SMS confirmation from your provider

You'll either get one of these 3 messages after you port:
**Successful/Failed Validation:**
1. "Dear customer, your port request has been accepted & activation are in progress. An SMS confirmation to change SIM card will be sent to you within 24 hours. Thank you."
**Upon Failed Validation:**
2. "Dear customer, your port request has been rejected by your previous service provider. Please contact Telco X for further details. Thank you."
**Upon Successful Provisioning:**
3. "Congratulations! Your service has been activated. Please insert your SIM card now to start enjoying our network."

