How To Grow Kangkung, Curry Leaves & Other Balcony-Friendly Plants Yourself
You can grow some of these from kitchen scraps too.
Thinking to start your own garden of edibles?
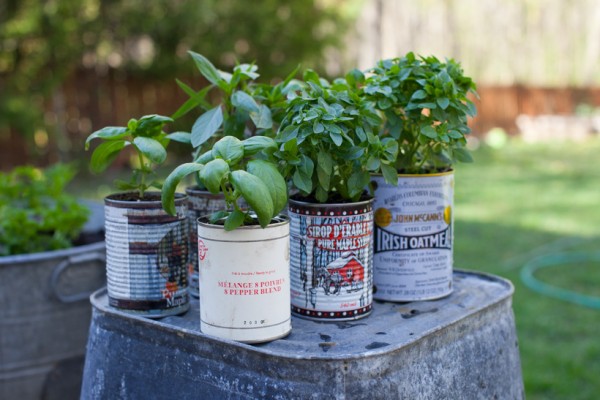
Nothing beats the feeling of cooking with ingredients plucked from your own garden! Some plants can be grown from kitchen scraps, making it a great chance to reduce food wastage too. Plus, you can take this opportunity to recycle canisters, bottles and such to be used as planting containers, making this planting project just that one step closer to living that zero-waste lifestyle ;)
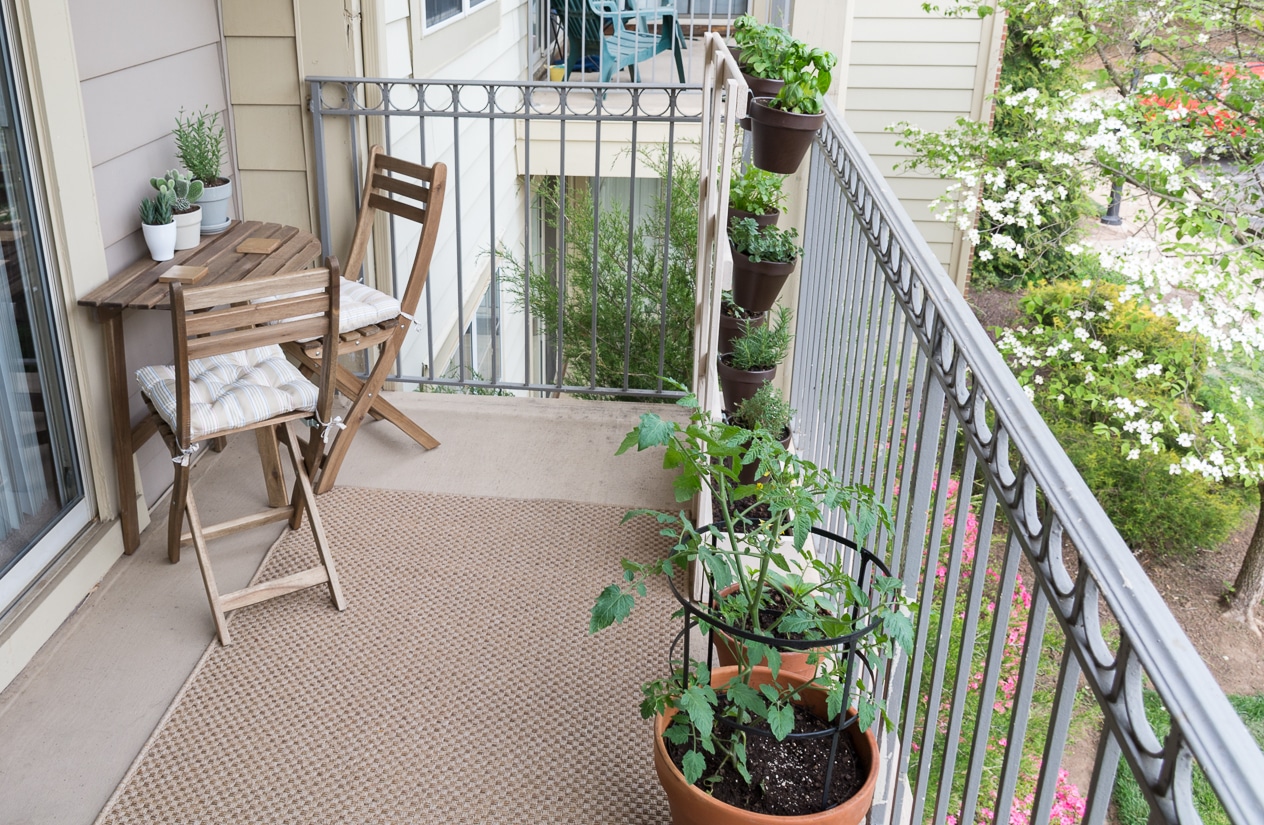
The great thing is that many types of plants don't actually require a large backyard - they'll be just as happy growing in your balcony
1. Bok Choy
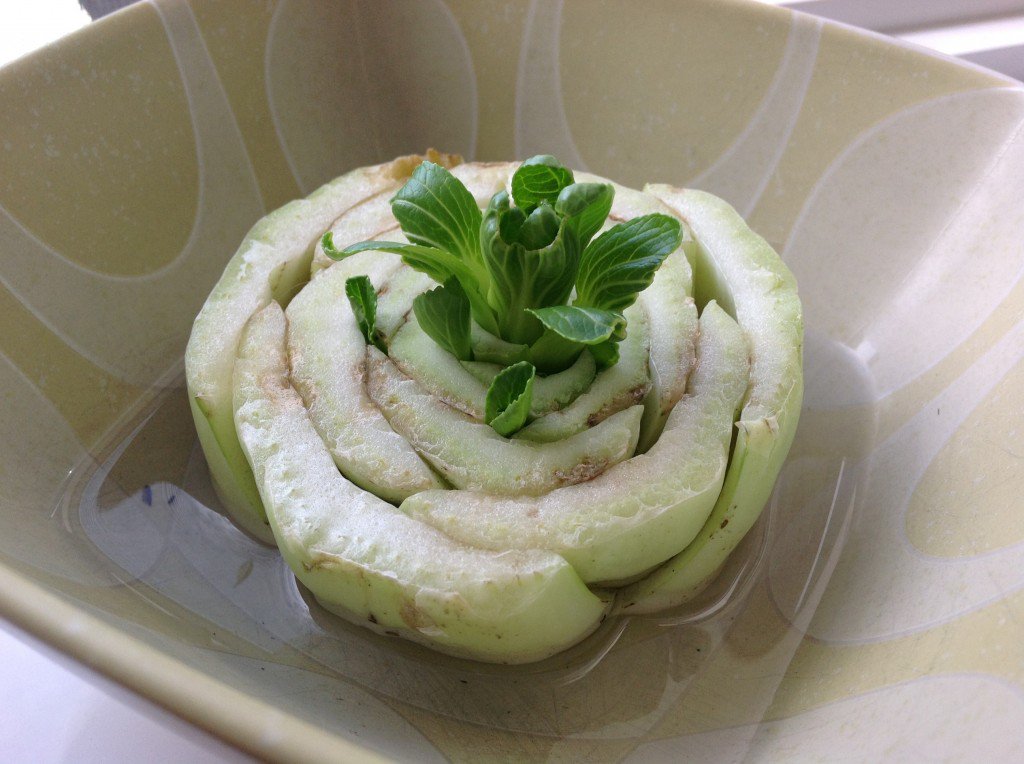
The next time you've got the bottom bit of the bok choy left over from your cooking, place it in a shallow bowl filled with a bit of water. Keep it on a windowsill with sunlight and change the water every few days. Within about a week, you'll start to see your bok choy sprouting around the center of the base!

Once you see the regrowth, you can transfer the growing bok choy into a well-drained container. Cover everything but the new growth part with soil. Bok choy grows well in slightly cool weather so if you see that your plant isn't thriving, move it to a cooler, shaded area.
2. Cilantro
Cilantro's a great way to add a fresh flavour to your dishes, but as most grocers sell them in rather large quantities, this can sometimes lead to wastage if you don't use them quick enough while they're still fresh.
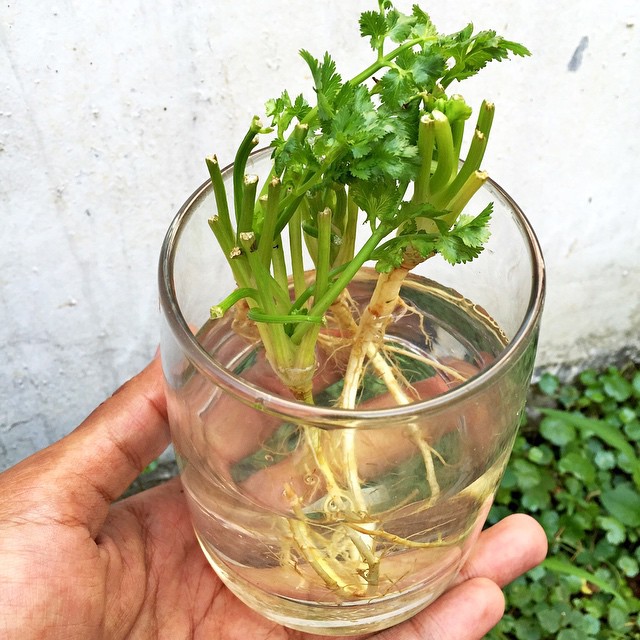
To avoid wasting, why not plant your own instead? You can use the root part that's usually left over from cooking - just make sure it has about three inches of the stem intact. Place it in a jar of water, give it enough sunlight and change the water everyday.
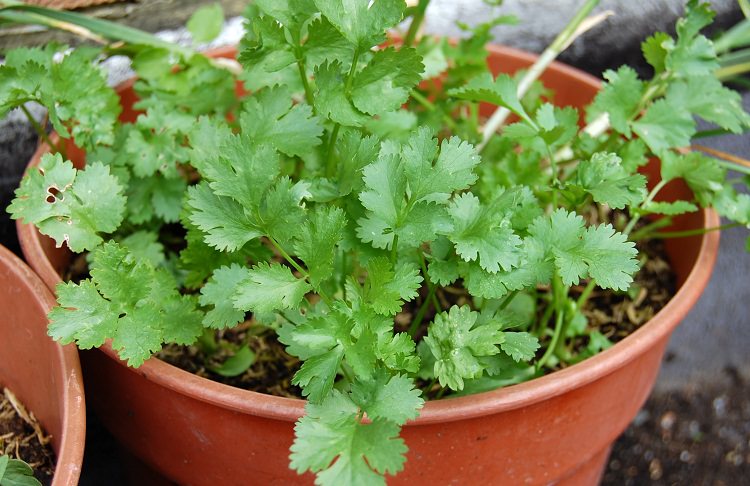
Once the stems start to grow, you can transfer your cilantro plant into a soil-filled pot. It will take a few months for the plant to mature, after which you can feel free to grab the leaves as and when you need them in the quantity you need.
3. Kangkung
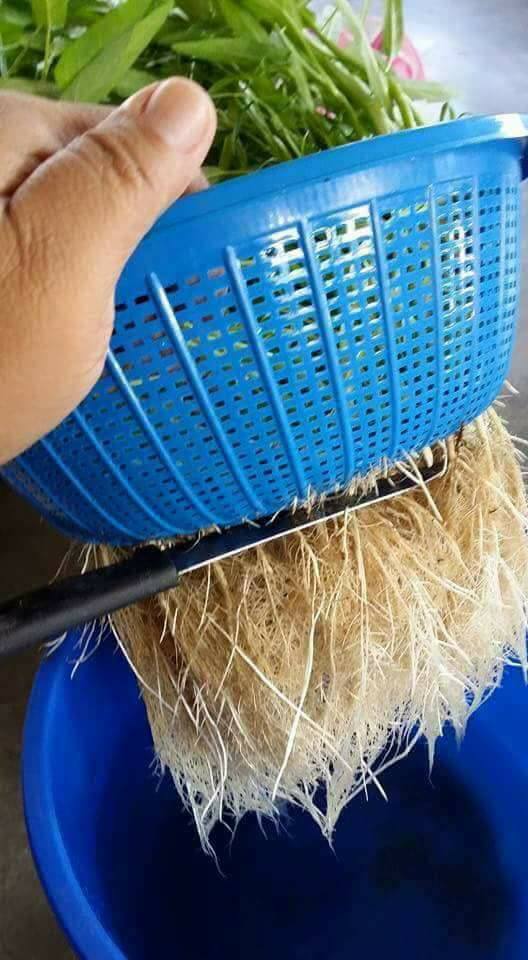
Here's an easy way to grow kangkung using a colander and pail! Start by soaking kangkung seeds for 32 hours. Drain and place in a fine colander. Fill up pail with water and place the colander over the top.
Cover the seeds, and after two to three days you'll see them start to sprout. Treat them to ample sunlight at this point and add fertiliser.
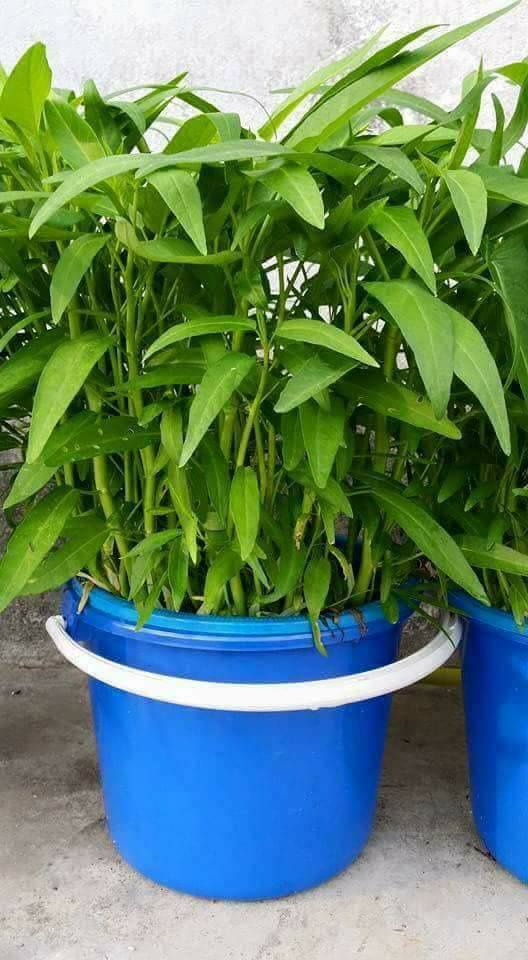
Keep an eye on the water level and replenish if needed. The kangkung will be ready for harvesting within three weeks.
4. Romaine Lettuce

Here's how you can have an endless supply of salad greens at home: Start by saving the bottom part of your romaine lettuce and keep it in a bowl with about half an inch of water. Keep it on a sunny windowsill and change the water every day.

Once you start seeing sprouts - which tends to happen within the week - you can move the plant into a soil-filled container or pot. The greens are ready to be harvested once their height reaches six inches. To keep the supply going, cut the leaves off and leave the base for regrowing.
5. Ginger

To plant your own ginger, choose a young, smooth and healthy root to work with. Plant it in a pot with a mix of potting soil and compost, and make sure the pot has plenty of drainage. Place it someplace warm but with indirect sunlight.

You can start harvesting at six months if you want young ginger, or wait the full nine months for them to fully mature. At this point, you'll see the leaves turning yellow. Keep some roots to be replanted to keep your ginger stash going!
6. Cili Padi

If you're familiar with the heartbreak of seeing your leftover cili padi all crinkled up at the bottom of your fridge's vegetable drawer, you'll love having this plant around! To start planting, cut open some cili padi and grab the seeds. Sprinkle them in a soil-filled container or pot and water two times a day.
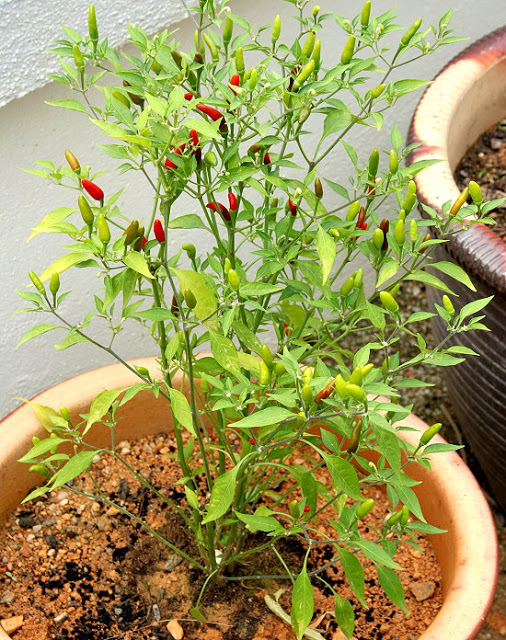
Once your pokok has sprouted around eight leaves or more, you can move it to a large pot to give it ample space to grow.
7. Scallions / Green Onions
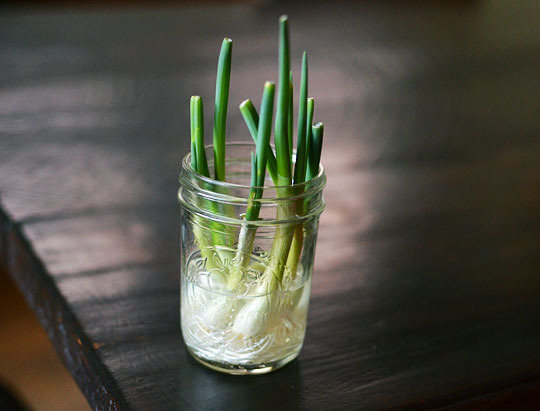
Don't throw out that bottom part of your scallions - they are one of the easiest things to regrow! Just place them in a water-filled jar on a sunny windowsill and change the water every other day.
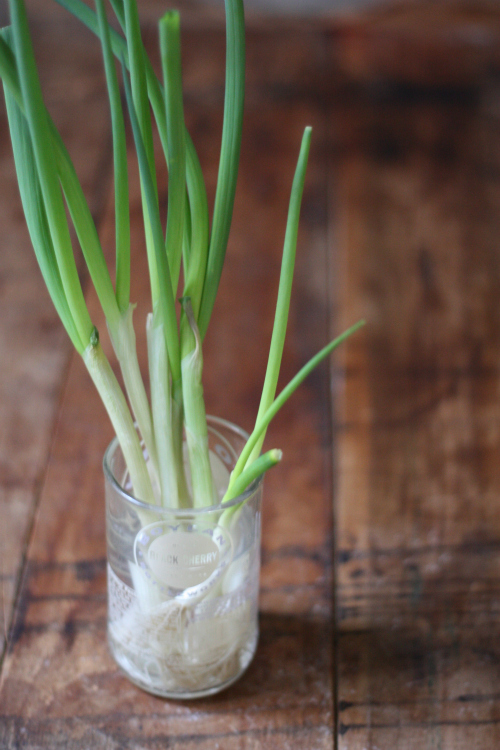
Within a week, you'll have new scallions! Harvest them as needed, but make sure the roots are kept in water. At this point, you can also choose to leave it in the jar, or replant them in soil.
8. Lemongrass
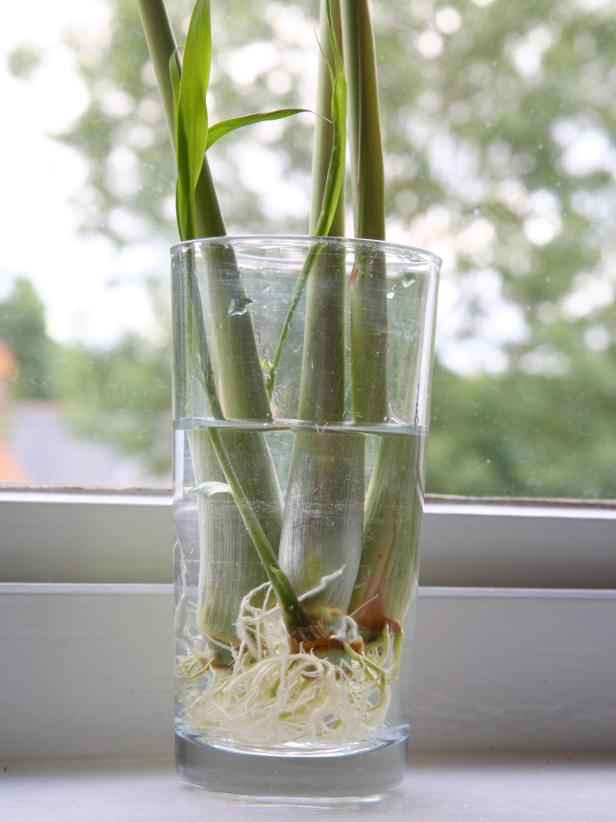
This must-have ingredient for on-point Malaysian cooking can be grown at home with minimal effort. To grow your own from scraps, place the root stems in a glass of water. You'll start seeing new roots forming within the week.
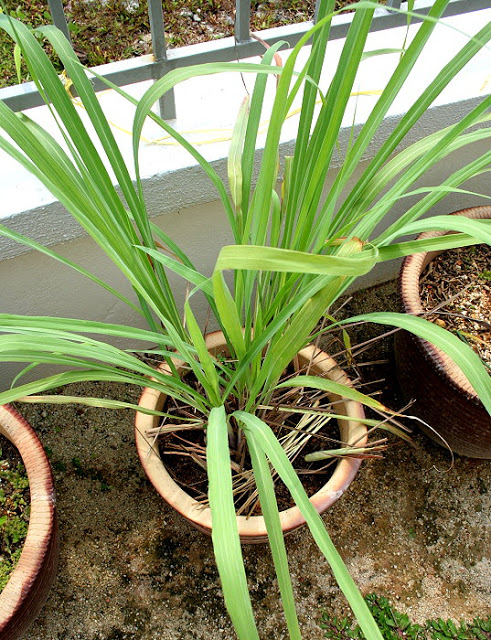
After two to three weeks when the roots have strengthened, you can move the stalks into a pot. Feel free to harvest lemongrass once the plant reaches around one foot in height.
9. Curry Leaves
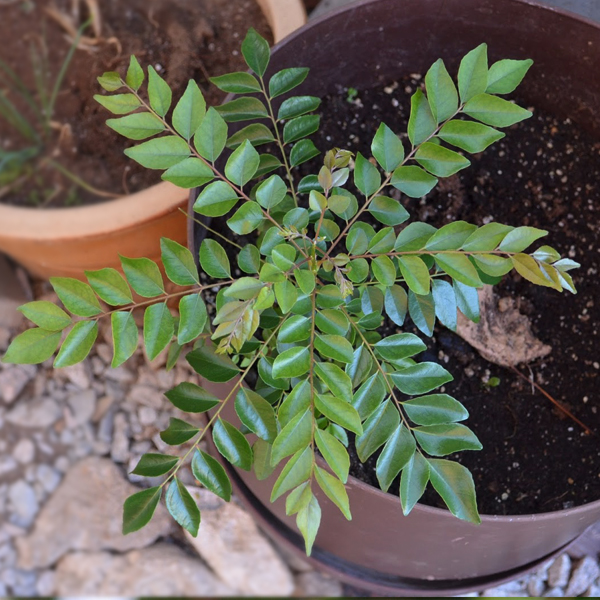
You can grow a curry leaf tree from seeds, but it will take a year or two to mature so for quicker results, you can opt to get a curry leaf plant from the nursery to be planted at home. Keep it in a sunny area and be careful not to overwater it. You'll only need to water the plant when the soil has become dry.
10. Garlic

You can grow garlic easily at home using just the clove. Plant the clove with the root facing downwards and keep it in an area with direct sunlight. You can plant a few cloves in the same pot too - just give them space of about four inches away from each other.
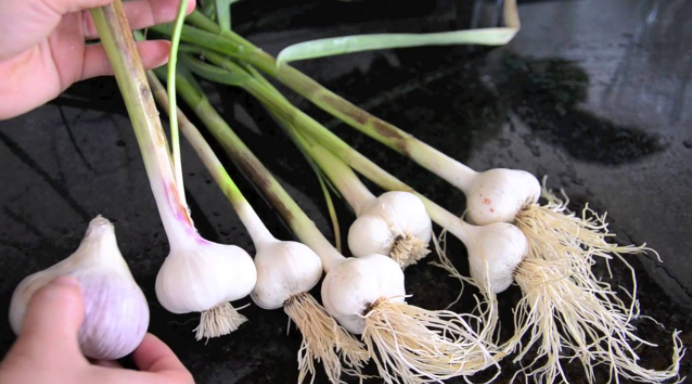
You can start harvesting once the shoots start to turn yellowish.
11. Celery
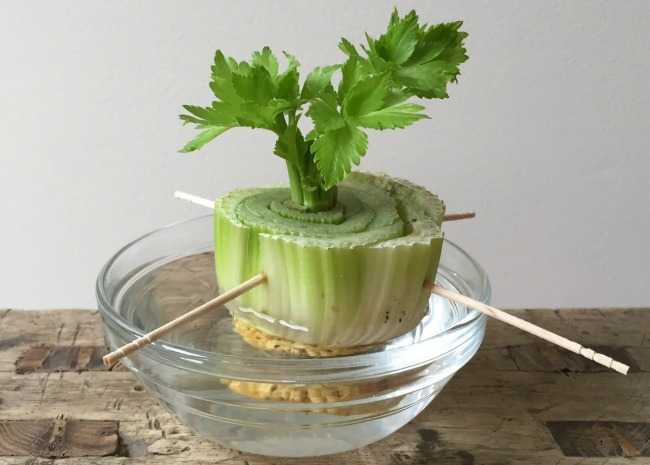
You can plant leftover celery scraps too! Leave about three inches off the bottom and pierce it with sticks before placing it in a bowl of water. The sticks are to prevent the celery's roots from touching the base of the bowl and allow for better growth. Treat the plant to ample sunlight.
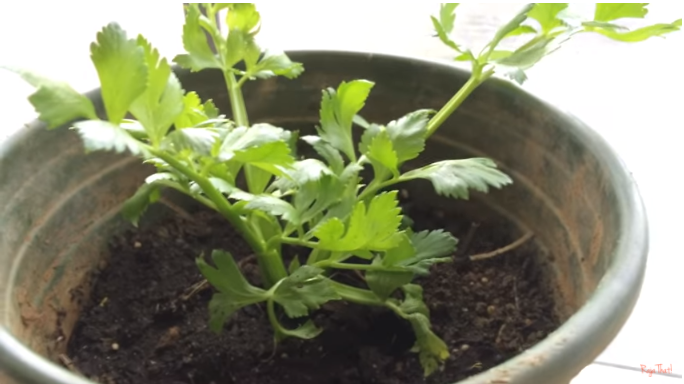
You'll start seeing regrowth towards the centre of the base within one to two weeks, which means you can now move it to a soil-filled pot. Celery requires damp soil to thrive so be sure to water it twice a day.