6 Simple Steps To Help You Build Your First Custom Mechanical Keyboard
Here's all you need to know about keyboard sizes, keycaps, and switches!
We know there are a tonne of keyboards to choose from in the market, but if there's isn't one that fits you — why not build one instead?
Whether you use it for work, to type out assignments, or to play intense online games, a mechanical keyboard can be life-changing. With a custom build, you can have a keyboard that feels most you — without having to sacrifice on aesthetics and quality.
STEP 1: Figure out your budget
As with any other purchase, you need to decide how much you want to spend on your custom mechanical keyboard before you begin to look for the parts you want.
Mechanical keyboards can cost anywhere from RM64.90 to RM589 and above depending on the quality you opt for, features you want, and how popular a specific brand or part costs.
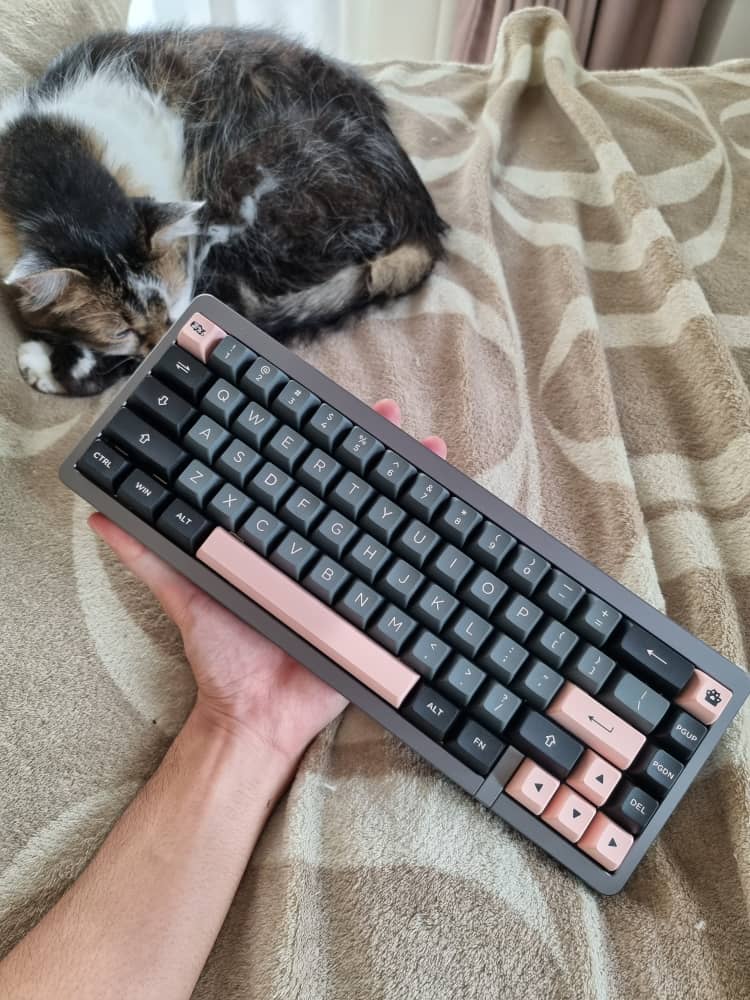
Personally, my custom keyboard that was more on the higher-end of things costed me RM1,300.
STEP 2: Choose a keyboard size
One of the most fun things about keyboards is that they come in a variety of sizes. However, it also means that you'll have to determine the right one for you.
Worry not, here's a helpful visual guide from KeebNews, regarding the numerous keyboard sizes.And if you wanna test out how these different keyboards feel, you can always run down to your local tech or gadget store and have a little click-clack session ;P
Here are the differences between these common mechanical keyboards sizes:
Full-size keyboardFull-sized keyboards consist of all 104 keys placed within the keyboard. These keys include a number pad, arrow keys, a function row (the F1 keys at the top most area of your keyboard) and a home cluster.
80% keyboard (tenkeyless)
Has everything a full-sized keyboard has except the number pad.
75% keyboard
A 75% keyboard is a slightly more compact version of a tenkeyless keyboard. The home cluster is placed vertically and is right beside the navigational arrows.
60% keyboard
A 60% keyboard cuts off the number pad, arrow keys, and function row. They're compact, cute, and look cool! However, But you will need to get used to special characters to navigate the arrow keys and numbers.
STEP 3: Decide on a type of keyboard case
Aside from the keyboard sizes, another thing to note about mechanical keyboards are the casings.
Casings happen to be an essential component to keyboards because they are the glue that sticks all the other parts together. It also contributes to the aesthetic of the keyboard itself.
Let's look into the different types of keyboard cases:
Plastic
Plastic is the most common and cheapest option for casing. A pro for plastic cases is that they're cheap and provide a lighter feel.
Aluminium
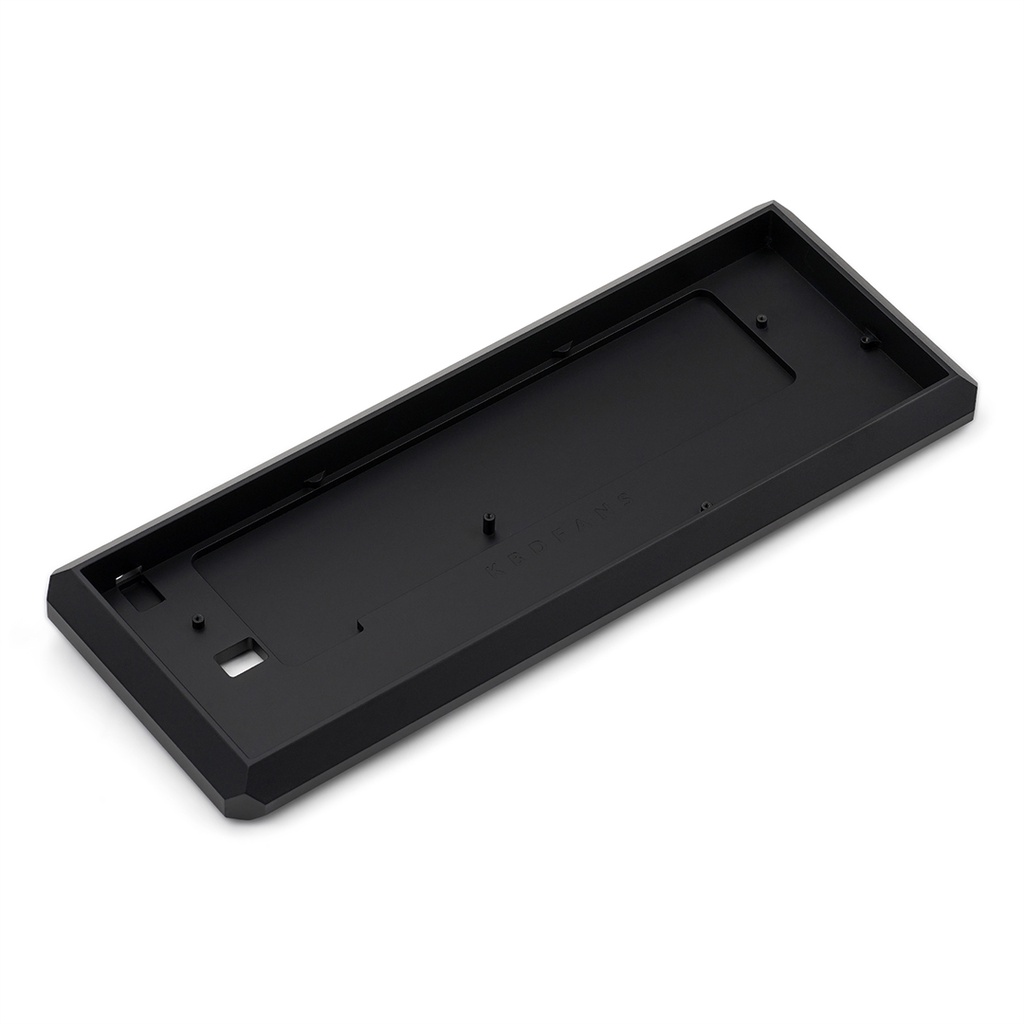
Aluminium cases are sturdier compared to plastic cases. However, they can be inflexible and stiff. Their solid feel makes them slightly more secure than plastics, if you're willing to spend a little bit extra.
Acrylic
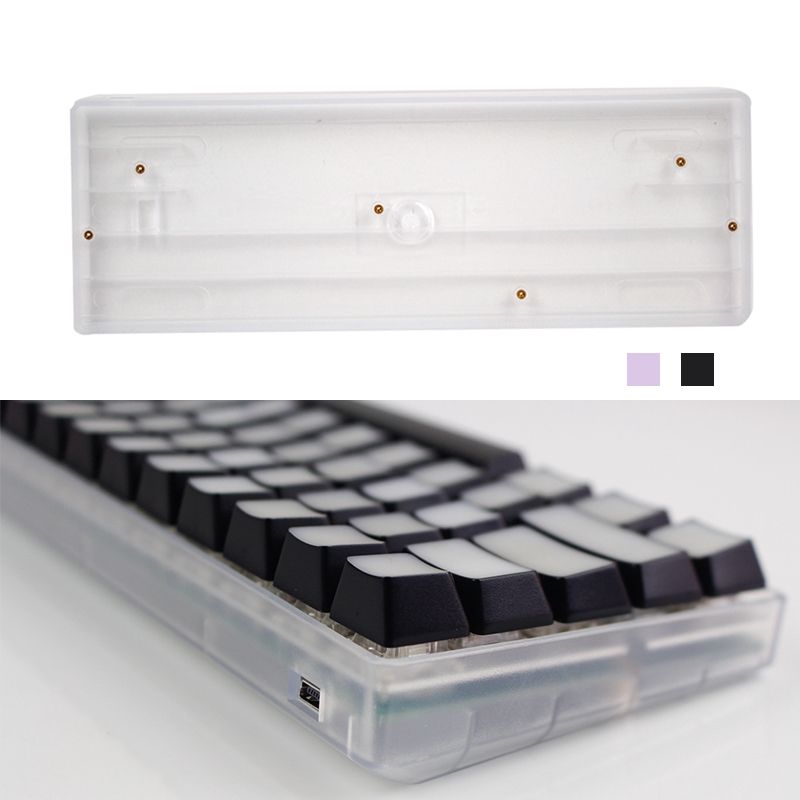
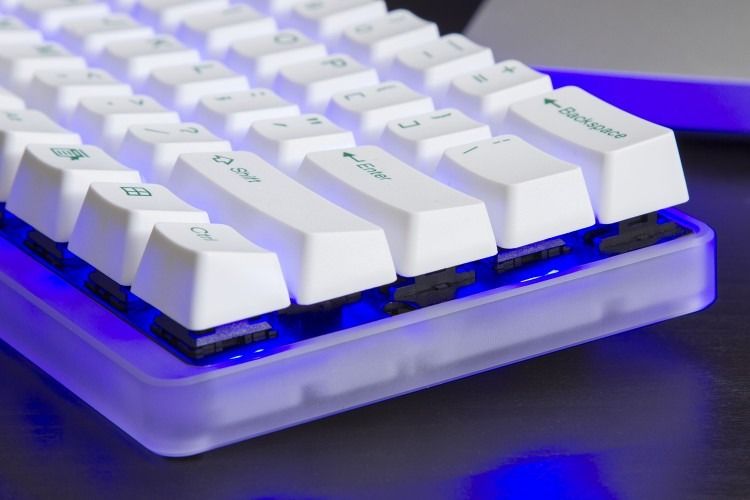
Acrylics are really easy on the eyes, because they present a plastic-based case imbued with glass components, making them extremely light and shiny.
Do keep in mind they're a bit fragile so you need to handle with extra care if you opt for this case.
Stainless steel
Stainless steel cases are even stronger than aluminium cases, and are often very tough and heavy.
Wood
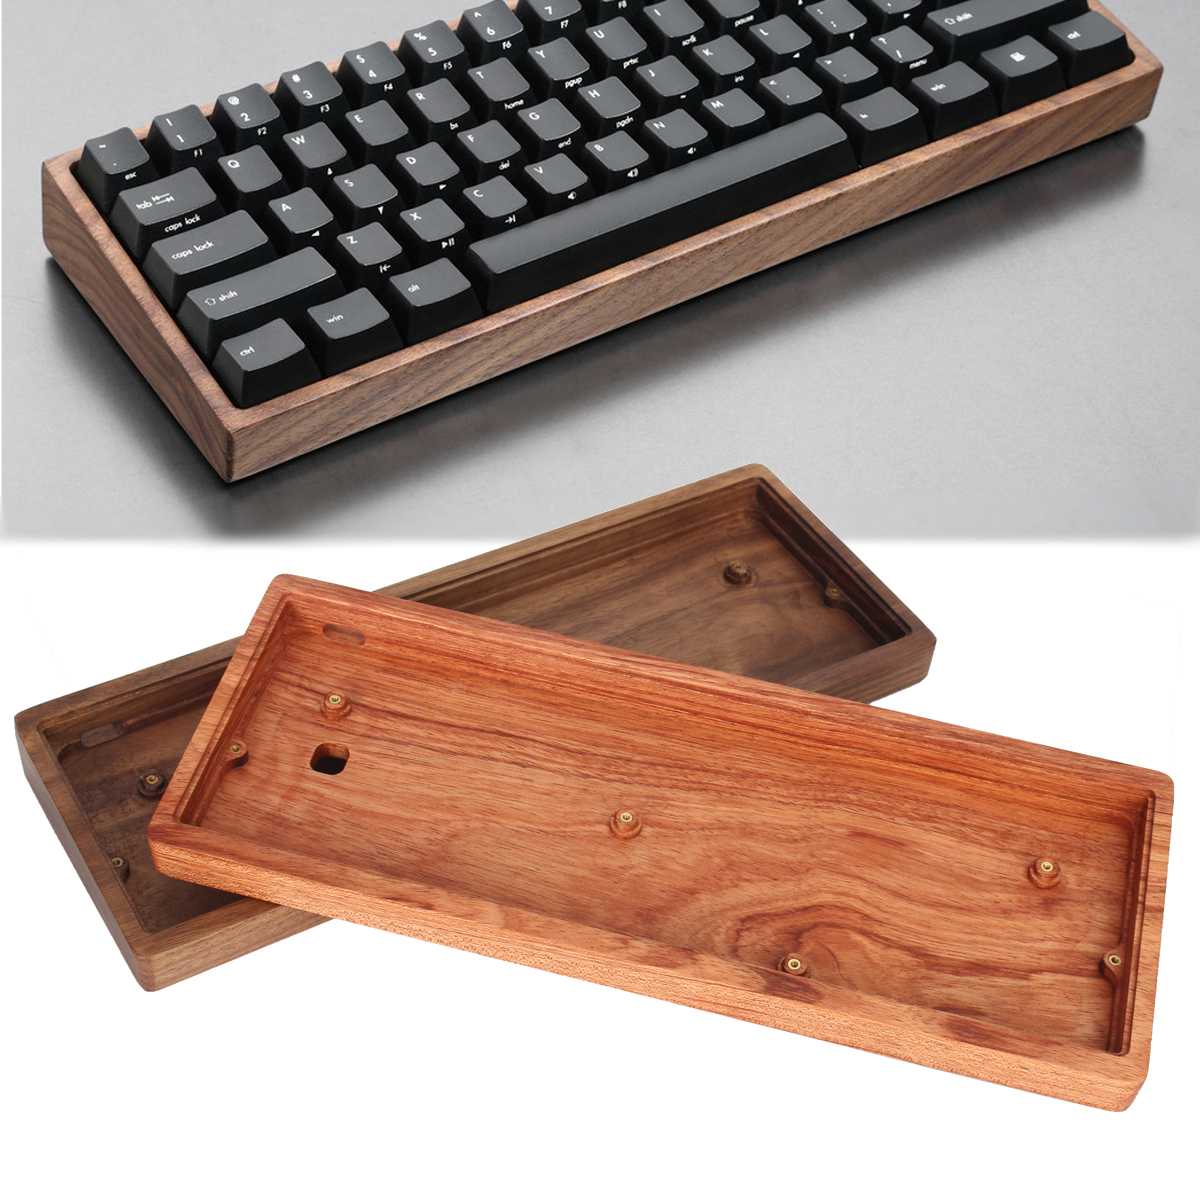
Wooden cases are the more uncommon type of keyboard cases, the quality of this case depends on the type of wood and how they're prepared.
They contribute mostly to people who love wooden designs and aesthetics.
STEP 4: Pick out the switches
Personally, I feel that choosing the right switch for you is the most important part of building a keyboard. This is because switches contribute significantly to your overall typing experience when you're using it.
So, let me break down the type of switches for you.Linear switches
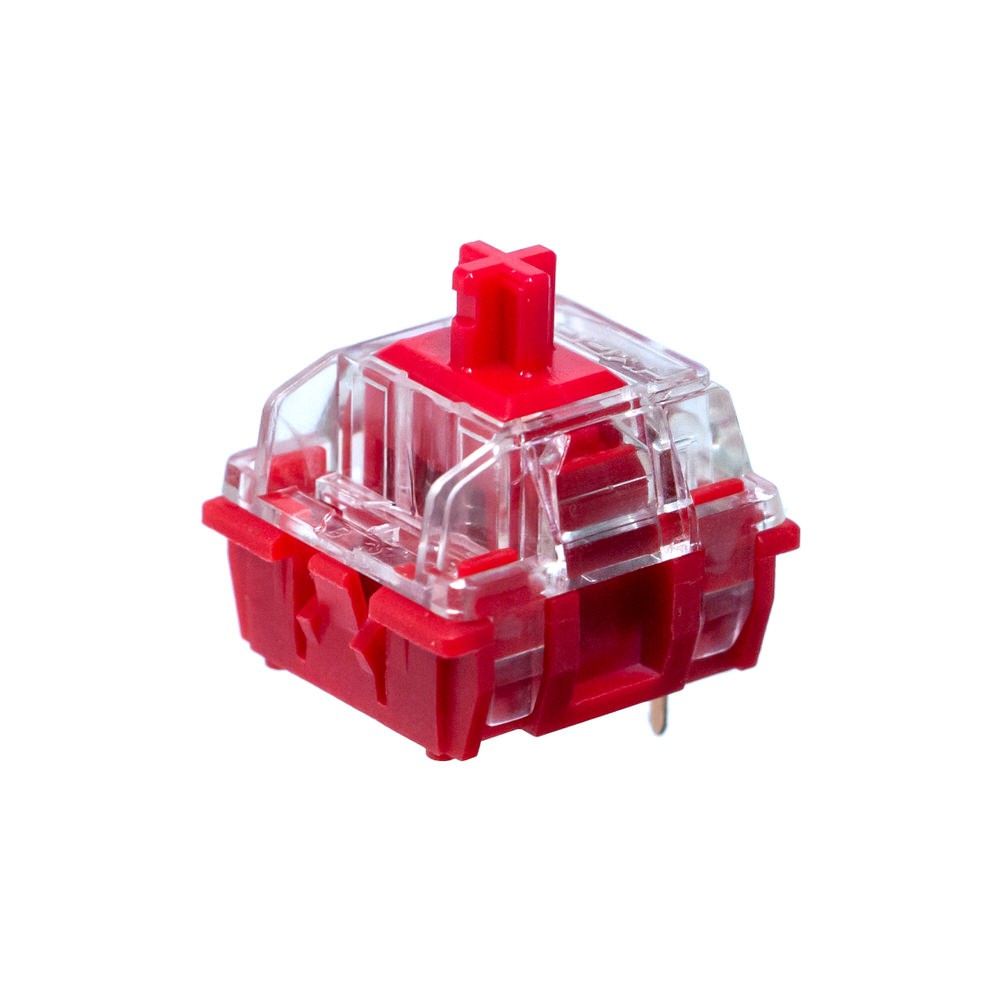
Linear switches feel the most simple out of all three switch types. It doesn't provide any sort of feedback when your press hits the actuation point. To clarify, an actuation point means the point where the key signals your computer that you've pressed on it.
As such, linear switches are super straightforward while still offering a reliable and satisfying typing experience for those who just want 'basic' keystrokes.
Tactile switches
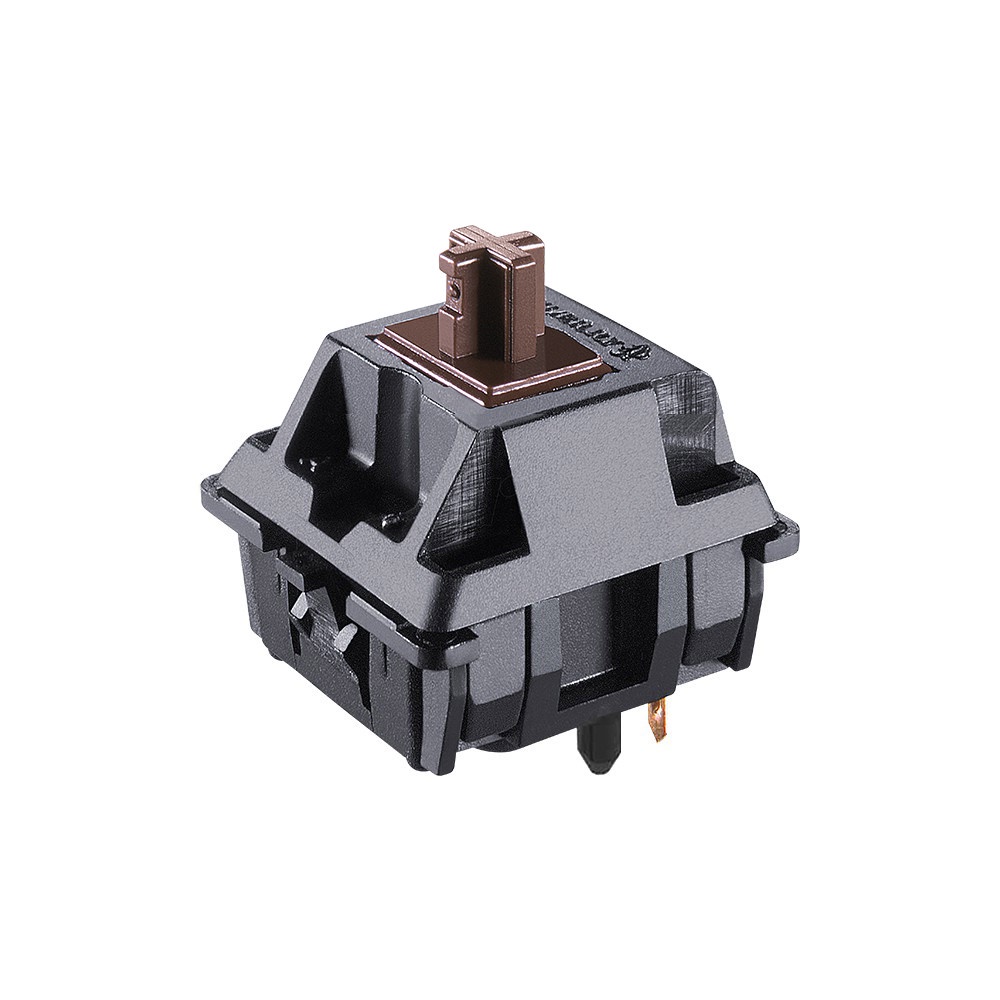
Tactile switches provide a more distinct sense of touch when you hit the actuation point of a keystroke. The feel is similar to that of a small bump when you type on a key.
In that sense, tactile switches provide more of a sensation than linear switches, but are not as loud as clicky switches.
Clicky switches
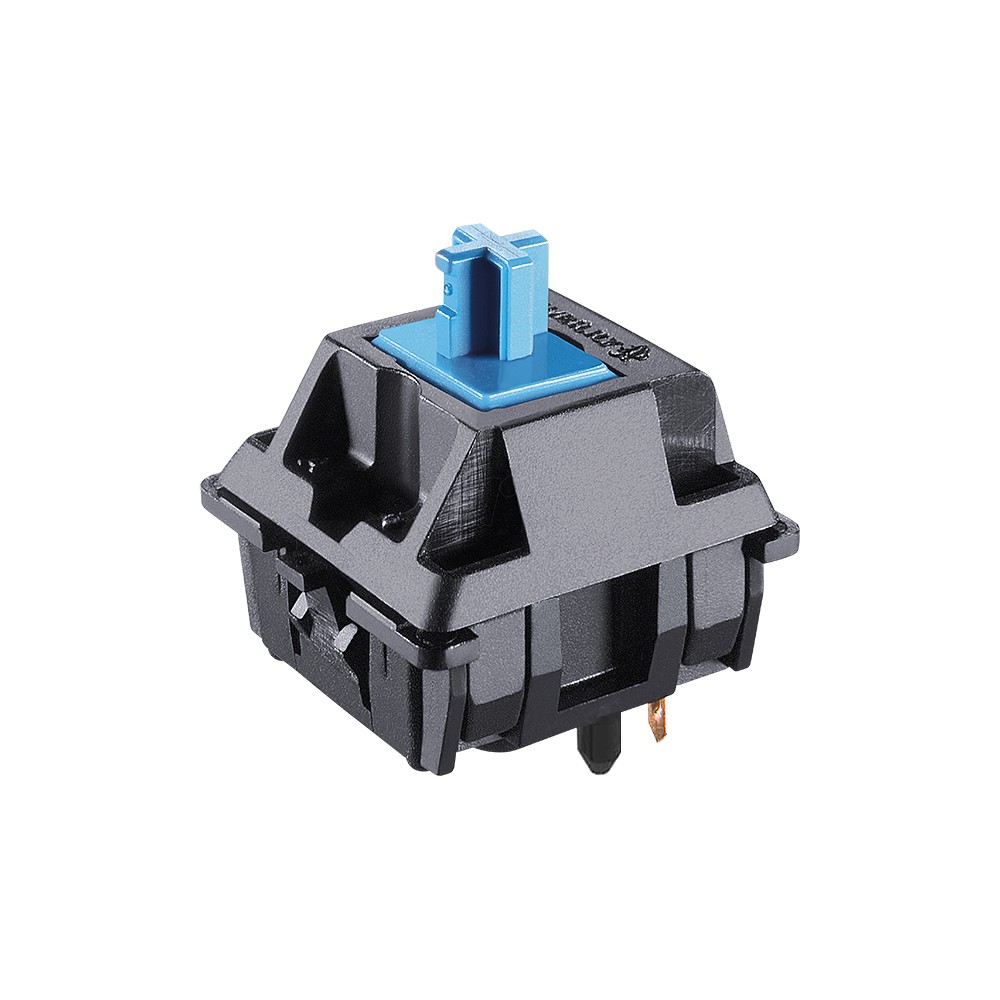
You will either love or hate clicky switches depending on whether you want your typing to be heard.
Aside from providing users with a bumpy feel when hitting the actuation point, they will also ring out a click sound when they're pressed.
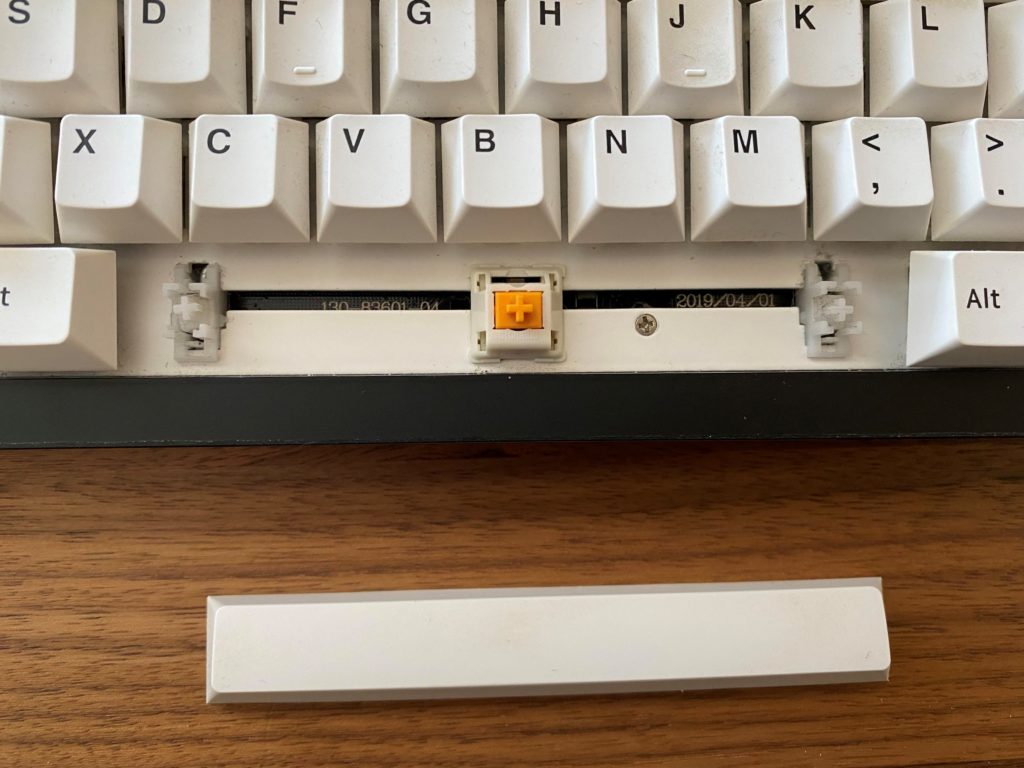
STEP 5: Ensure you get the right stabilisers for the big keys
Keyboard stabilisers help keep your bigger keys in place when you're typing so they don't shake or rattle when you type on them.
These keys can be the spacebar, shiftkey or backspace. They're placed near the keyboard switches.
STEP 6: Go all out and customise your keycaps, as your heart desires! :D
Last but not least, you can have fun deciding on your keycaps, as there are lots of options to choose from online to spruce up your overall keyboard look.
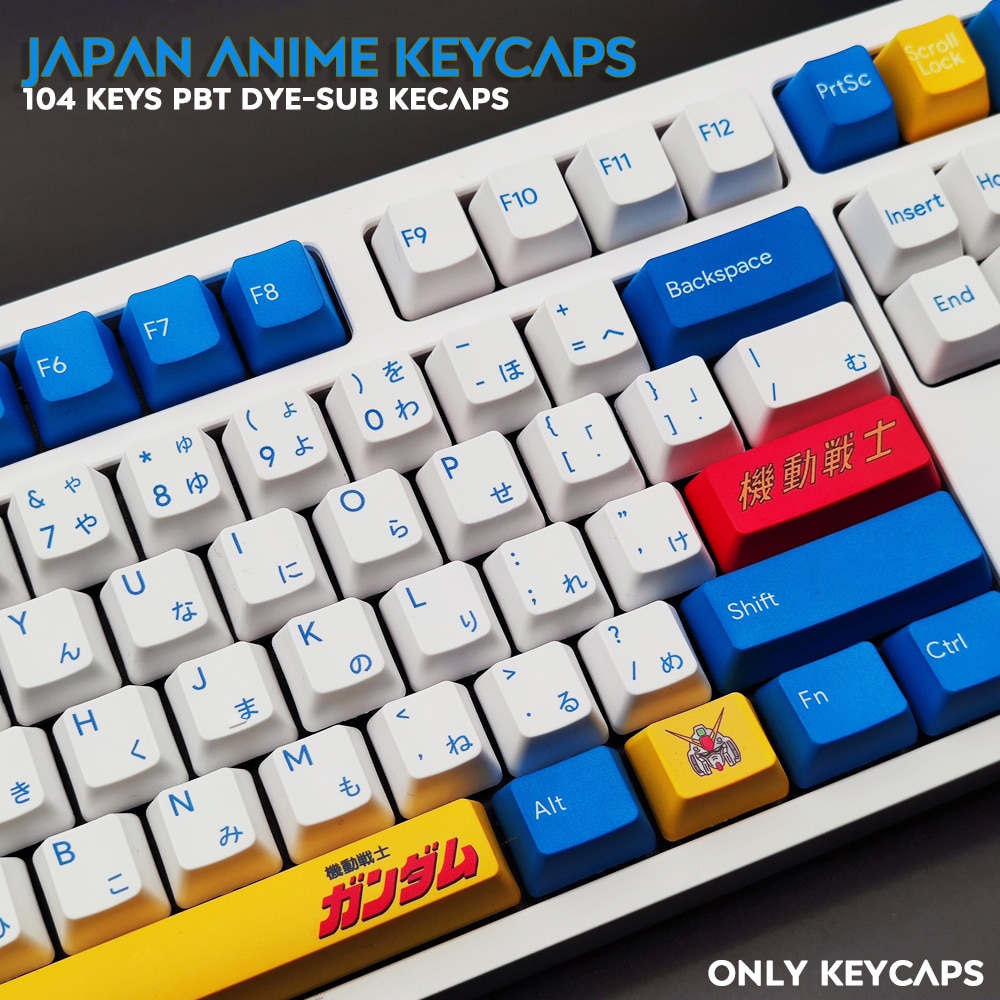
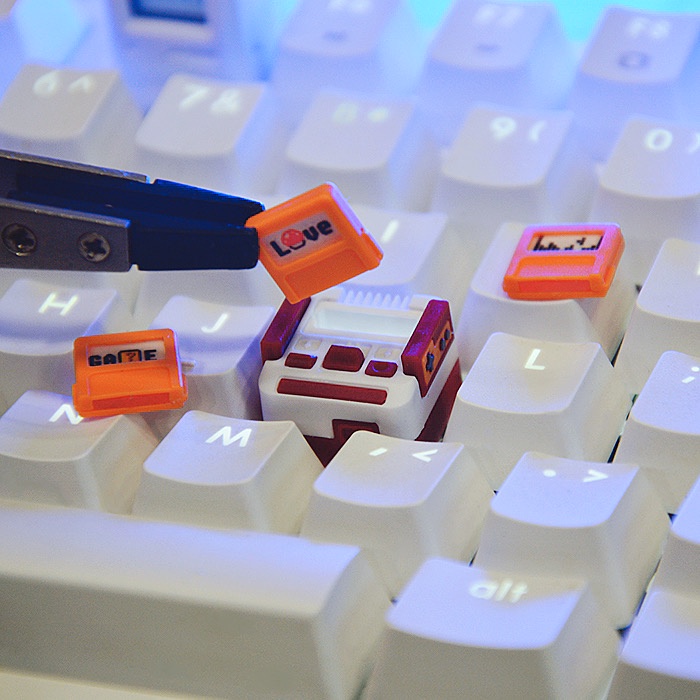
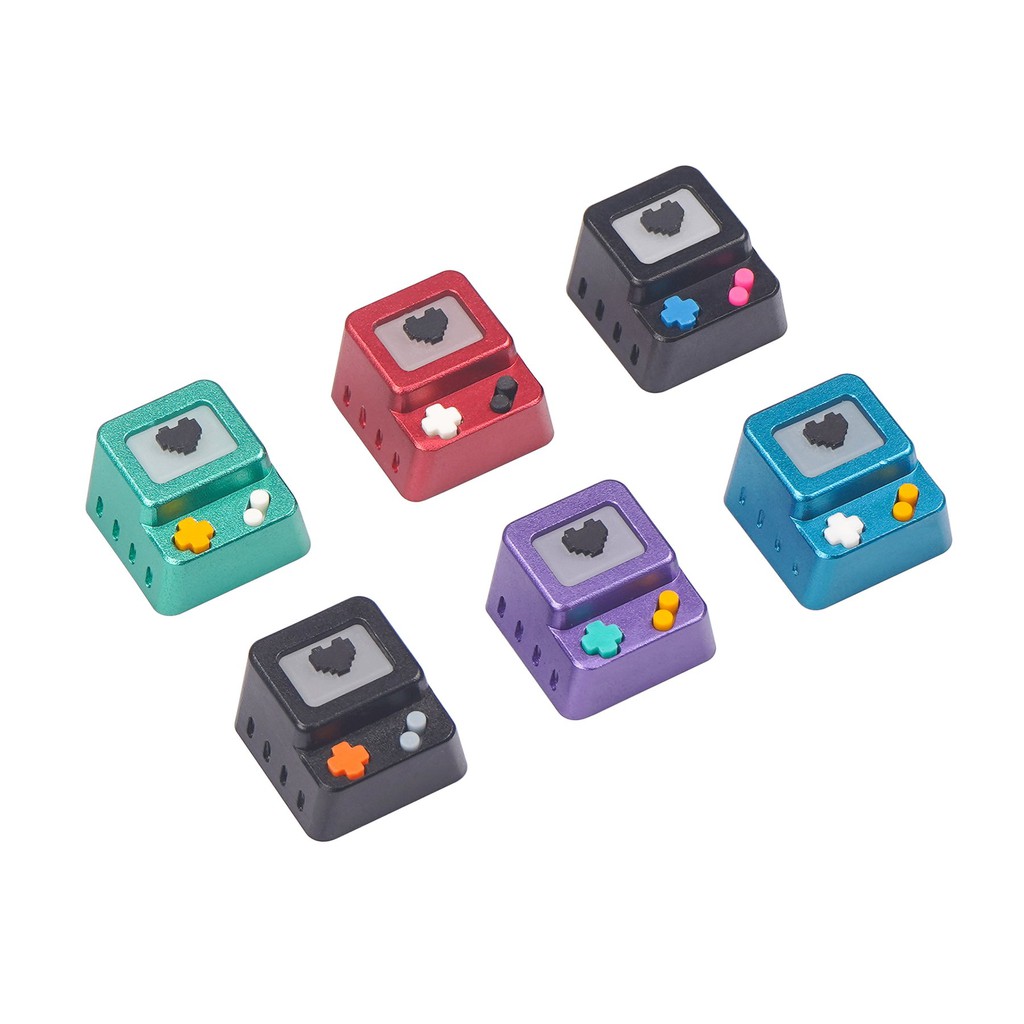
Check out these aesthetically-pleasing keycaps you can cop from Shopee!
Gundam-Inspired Anime keycaps (RM82.50 from Shopee)
Mini Famicom-inspired FC keycap (RM20.90 on Shopee)
M7 game console artisan keycaps (RM118.83 on Shopee)
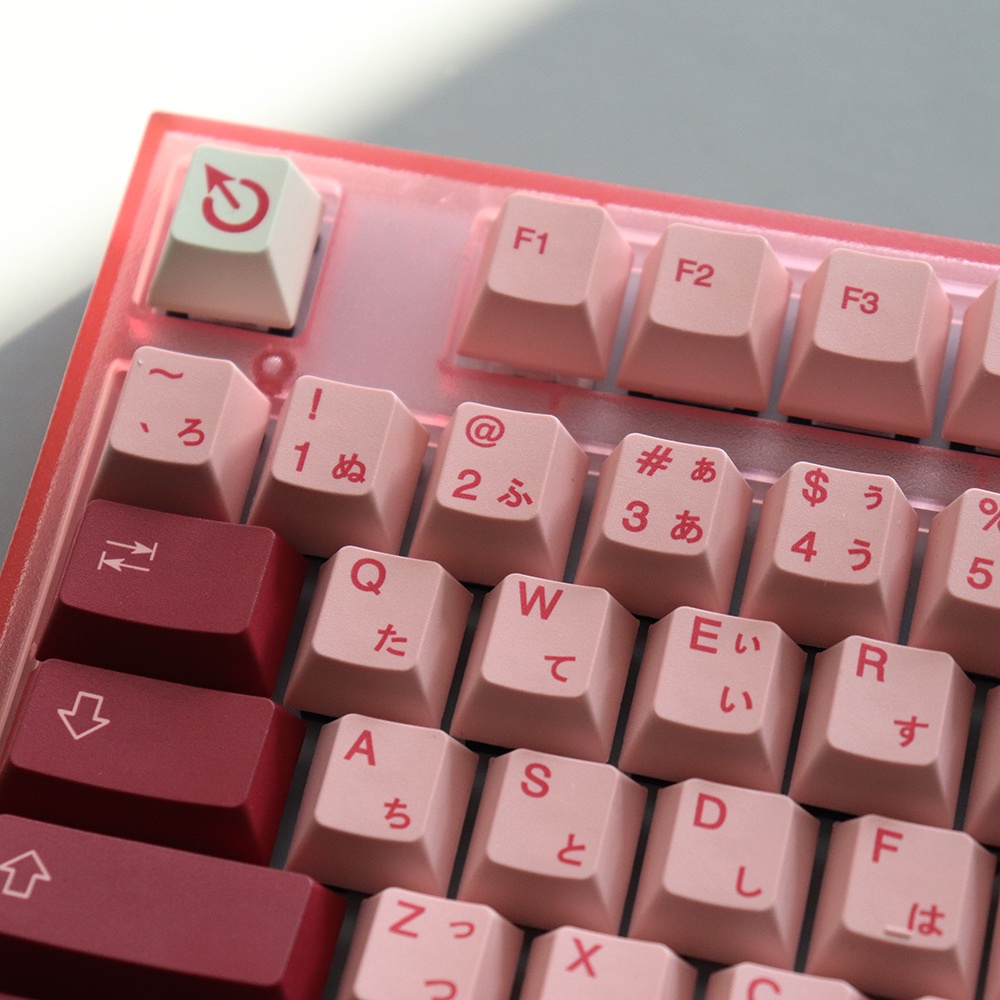
DYE-SUB Cherry Profile Personalized Darling keycaps (RM101.25 on Shopee)
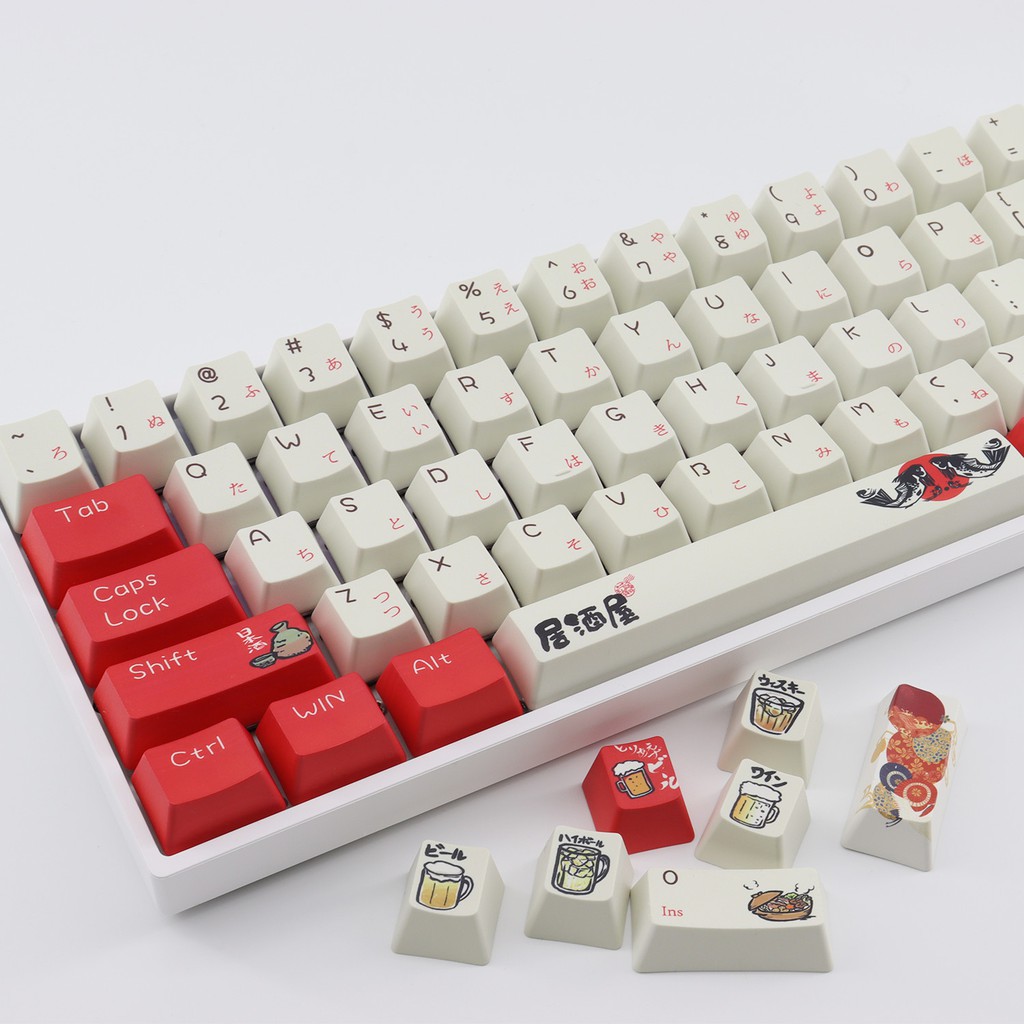
Izakaya-style keycaps (RM95.00 on Shopee)
