How To Revive Your Soaking Wet Phone In 8 Steps
Everyone's a little clumsy and sometimes accidents happens. Here are some steps to try and save your wet device!
Here's the thing. You dropped your phone into a hot bowl of soup or into the toilet. It happens. But before you freak out, all hope is not lost! We have a few suggestions on how to rescue your precious device.
Step 1: Speed is key! The sooner your remove your phone from the liquid, the higher chance you have of salvaging your phone!
First, retrieve it as quickly as possible. If your phone is still in the bottom of the jacuzzi or the toilet, get it out ASAP. The longer it’s in the liquid, the greater the likelihood damage will be.
Ports for hands free kit, tiny hole for microphone, charging, usb cable connectivity and the plastic covers on cell phones even though tight can freely allow water to enter the phone in a just a few seconds of time. Grab your phone quickly, and turn it off immediately, as leaving it on can cause it to short circuit – if it has been in water, assume it is waterlogged whether it is still working or not.
Step 2: Remove the SIM card and battery, if possible, and turn off your device immediately. You won't do any good by fumbling with the buttons to see if it works.
Remove the battery from the phone, if possible, or at least turn the phone off. Most of the damage you are trying to prevent occurs when the device is electrified, so removing the battery helps considerably.
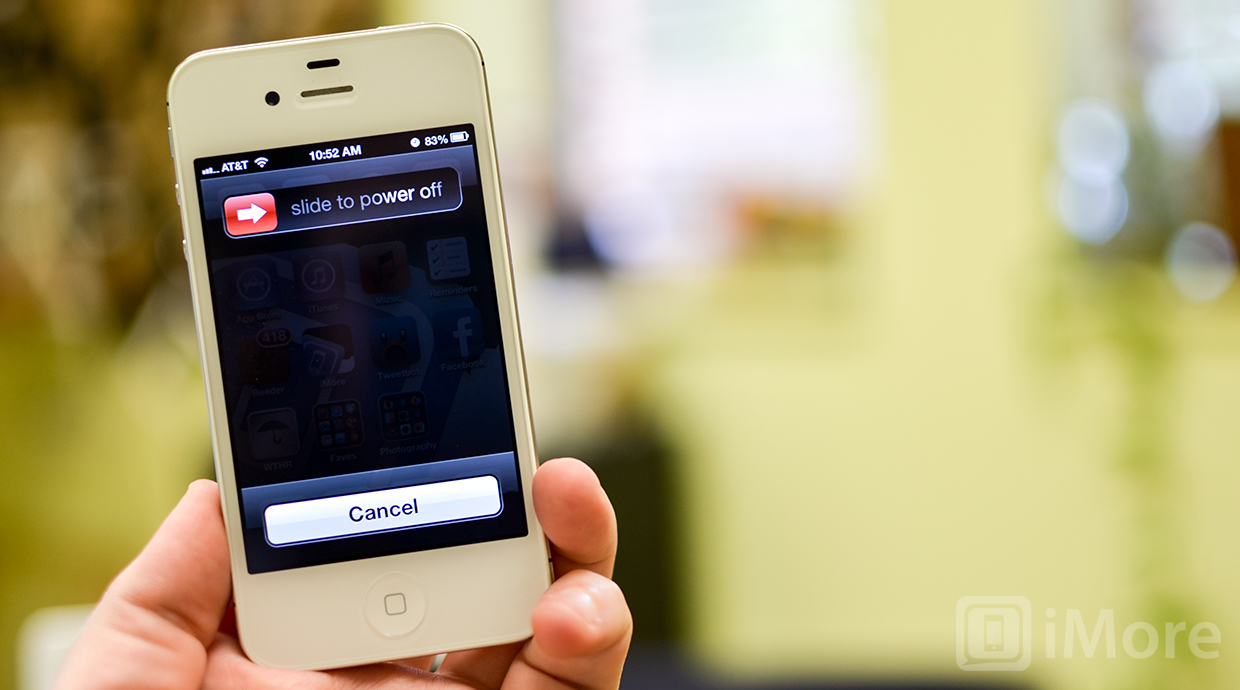
Once the device is no longer submerged, if you can, take that battery out. Don’t even bother powering it off, don’t press any other buttons, just open up the phone and pull the battery out. If you can’t do that though — if you own an iPhone or another device that’s impossible to quickly pry apart — you’ll have to settle for just carefully powering the device off. You want to cut off power in the device as quickly as possible to prevent the possibility of a short circuit.
Step 3: For this step, proceed with absolute caution! Disassemble and lay out your device to speed up drying. If you're not confident with this, just skip it and move on to the next step.
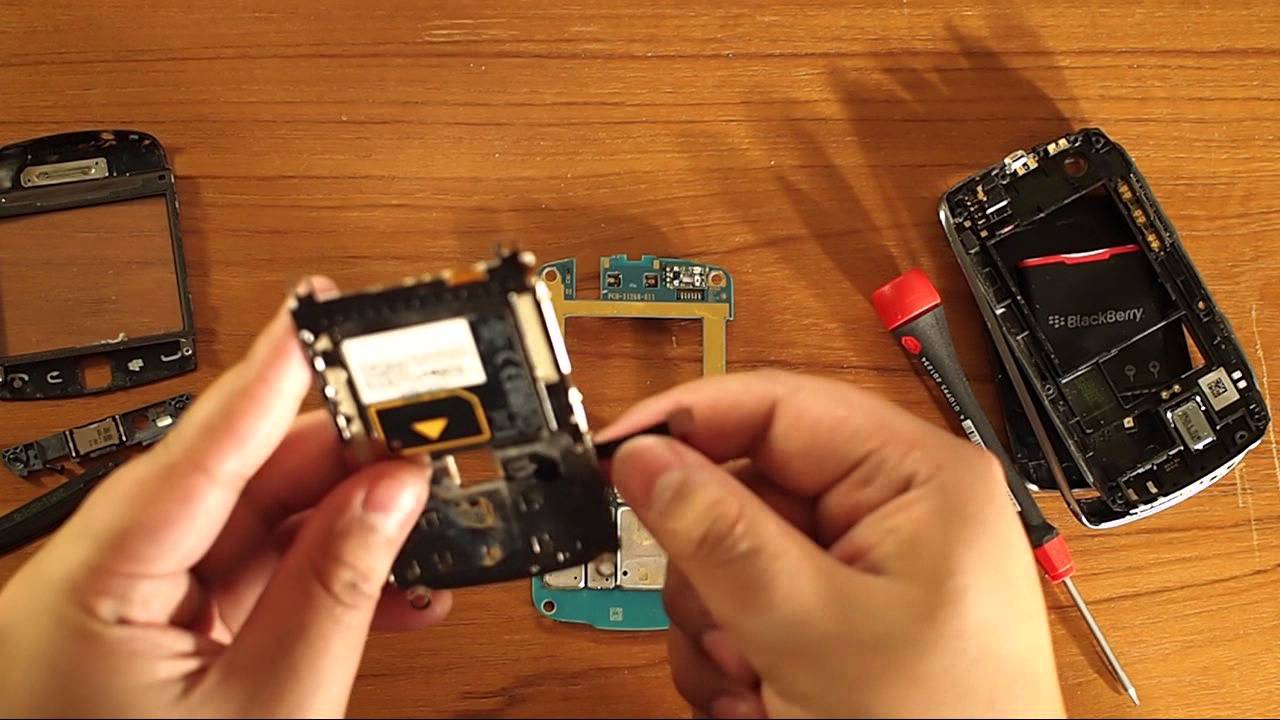
Disassemble the device, if possible. This should only be done if you have taken your phone apart before and feel comfortable doing it. This will speed up the drying process as you can easily remove water from around the circuit board. This will void your warranty, but if your phone is wet the warranty is no longer in effect anyway.
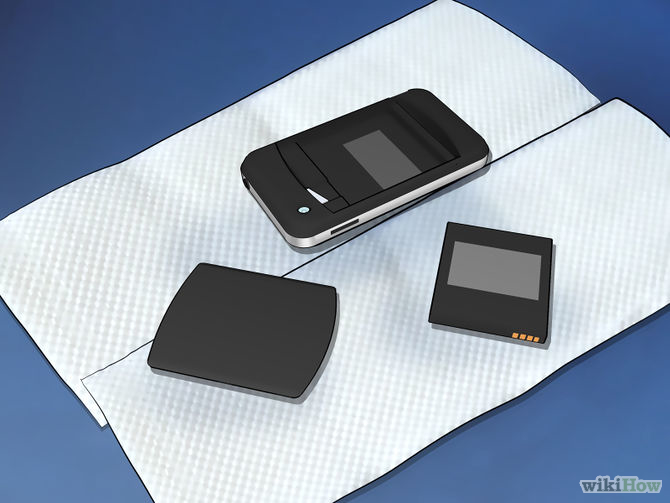
Step 4: Dry your device with a towel or any other absorbent fabric. The point is to remove as much excess water as possible.
If there is even one drop of water left inside, it can ruin your phone by corroding it and making the circuits corrode or short out. Obviously you need to remove as much of the water as quickly as possible, to prevent it from easing its way into the phone.
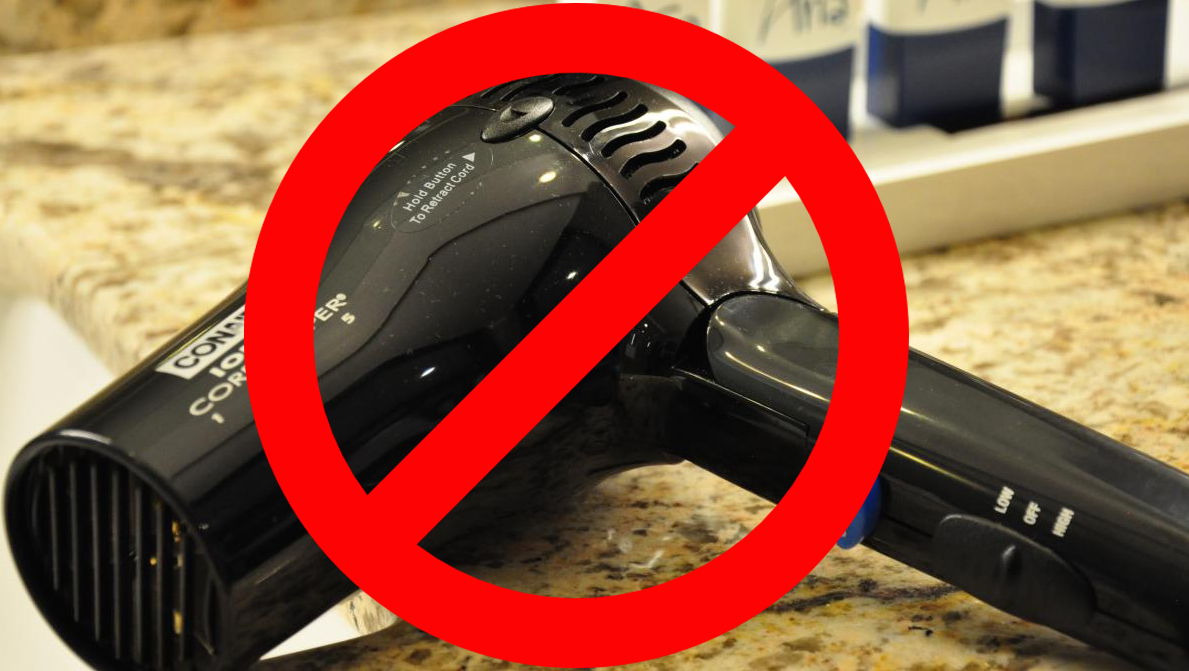
Step 5: Do NOT reach for the hairdryer! The heat from the forceful air will do more harm than good to your device, possibly damaging the electronics.
Contrary to common advice, it is not recommended that you use a hair dryer (even on the "cold" mode). Using a hair dryer may force moisture further inward toward the crevices, reaching the electrical components deep inside the phone. And if the hair dryer air is too warm, it could.
The heat can damage the delicate electronics inside. What you should do is give it a quick wipe with a clean towel, making sure no water accidentally ends up draining into its ports or other openings.
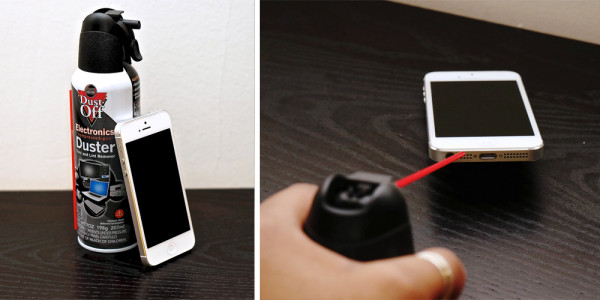
Step 6: Instead, use a vacuum to suck out the liquid or blow on the device using compressed air
Remove all residual moisture by drawing it away with a vacuum cleaner held over the affected areas for up to 20 minutes, in each accessible area
Blow compressed air on the device to remove as much water as possible. If you didn't disassemble your device, blow the air into a port or earpiece opening to try and force water out of another hole. Continue until no more water comes out of the device.
Step 7: Draw out residual moisture by submerging your device in uncooked rice, silica gel or whatever material that has a high affinity for absorbing moisture
Place the device and parts in a zip-top storage bag, along with a handful of silica gel packets. These are desiccants often found in new products (like shoes and bags), along with some grocery items (like beef jerky). They're designed to be very efficient at absorbing moisture.
cnet.comTo be safe, wrap the phone loosely in a paper towel before dropping it into the rice. The smartest option is to keep synthetic desiccants on-hand. They are far less messy, and they work more quickly and efficiently than rice.
Step 8: Alas, remember that patience is a virtue. The simplest but hardest step of all is to leave your device alone and let the moisture dry out gradually.
Wait. Continue waiting. Then wait some more. The best thing you can do at this point is to give your phone time to dry. The longer you wait, the greater the chance your phone will live to make another call. The minimum amount of time you should wait is a full 24 hours.
Wait 72 hours. This is probably the hardest part, but rest assured that you'll be OK, even if you haven't checked Instagram in three days.
cnet.comNow brave yourself for the moment of truth and power your device back on. If all of these steps didn't work, at least you now have an excuse to get a brand new shiny handset!

