"Clay Dates" Are Trending On TikTok & It's The Cutest Thing On The Internet Right Now
It's fun and easy to do!

By Khirthnadhevi Kumar — 25 Jul 2024, 05:19 PM
While DIY clay art first trended online a while back, it's been making a comeback with a cute twist — videos of "clay dates" have been all over TikTok
Tbh, the obsession with clay art is totally understandable. Be it tiny food replicas, quirky jewellery, or cute little animal figurines, making adorable little handcrafted creations out of clay is so fun.
There's something incredibly satisfying about moulding a lump of clay into something cute and unique. Not only is it super fun, it's a major creative outlet too. It's like therapy, but with less talking and more moulding!
This 'clay dates' trend is totally taking over TikTok, with couples and friends skipping the typical Netflix and chill routine for some hands-on fun with clay.
If you haven't seen this tend, check out a video of a "clay date" below:
Before you dive headfirst into a clay adventure, let's talk about your options
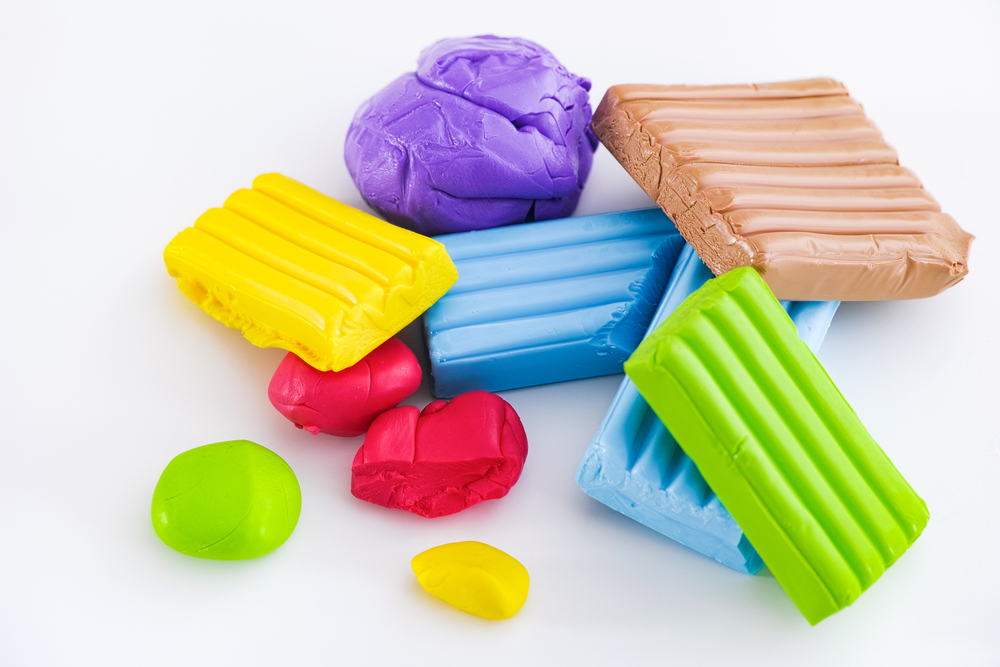
There's air-dry clay, which is great for beginners, while those looking to get a little fancier can opt for polymer clay. Each of these different clays has unique properties and advantages, varying in composition, finishes, and more.
Feel free to experiment to find the one that suits you best! And don't worry, you don't need to be a pottery pro for this trend, hehe.
Ready to get started? Here are some super cute ideas that have been trending on TikTok for you to try making:
1. Kawaii onigiri
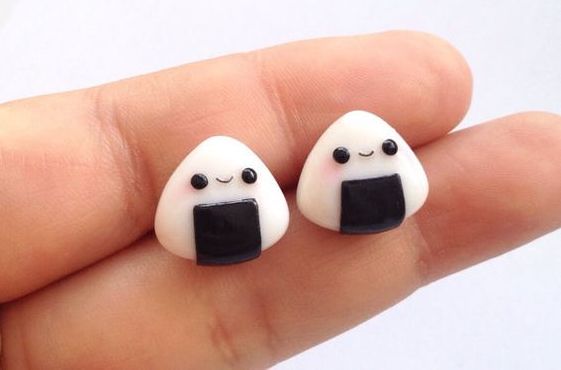
STEP 1: Start by rolling a ball of white clay. Gently flatten it out to create the base for your onigiri.
STEP 2: Gather the top of the clay together to form a cute triangular shape — just like a real onigiri!
STEP 3: Roll out a thin strip of black clay for the seaweed. Wrap it around the bottom of your onigiri for that authentic look.
STEP 4: Don't forget those adorable eyes — use small black balls for them. Finish it off with a happy smile using a toothpick.
STEP 5: Smooth out any rough spots and give your onigiri a final touch of perfection.
2. Lil cute octopuses
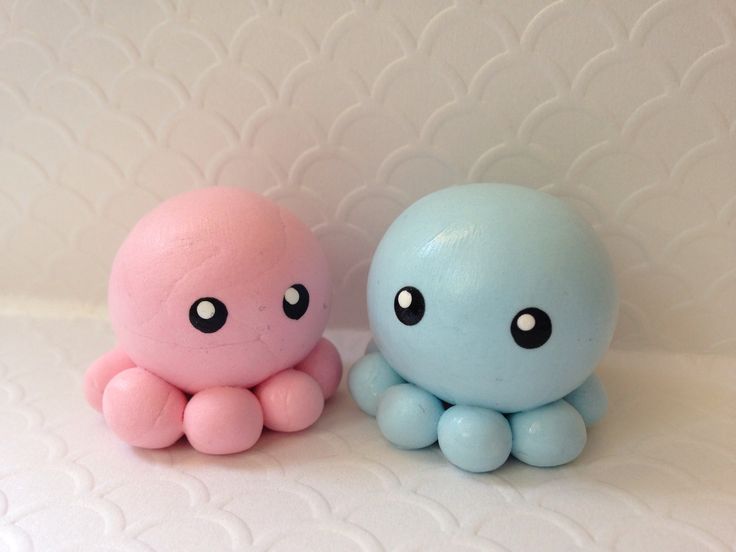
STEP 1: Start by pinching off small bits of pink and blue clay. Roll them into cute little round shapes for your octopus heads.
STEP 2: Roll out round small balls. You'll need eight for each octopus!
STEP 3: Time to give your octopus some arms! Arrange the tentacles around the bottom of the body.
STEP 4: Add some personality with big, round black eyes and tiny white pupils.
STEP 5: Smooth out any rough bits to give your octopus a polished look. And there you have it — an adorable clay octopus!
3. Twisted pretzels
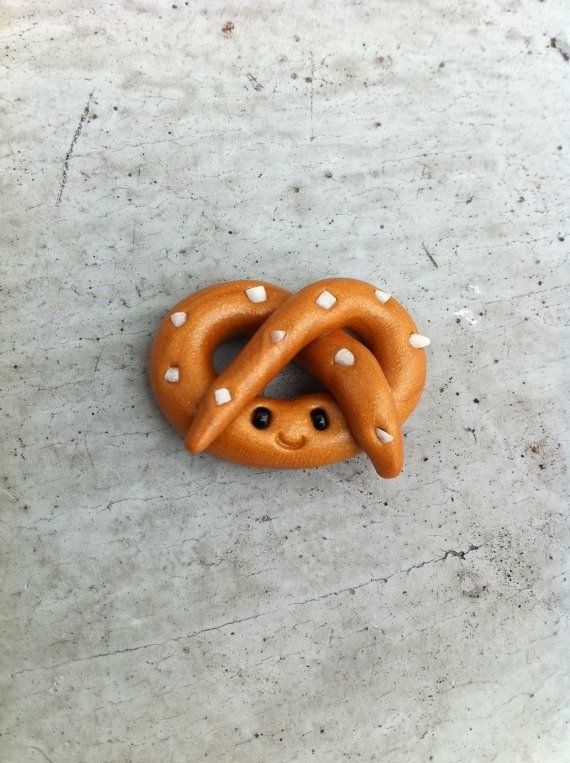
STEP 1: Start by rolling out a long, thin rope of brown clay. This will be the base of your pretzel.
STEP 2: Bring the ends of the clay rope together and twist them twice to form the classic pretzel shape.
STEP 3: Use a toothpick to create those iconic lines on your pretzel. For a salty look, roll tiny balls of white clay and stick them on to mimic salt grains.
STEP 4: Smooth out any rough parts to give your pretzel a polished finish.
4. Super Mario baby mushroom
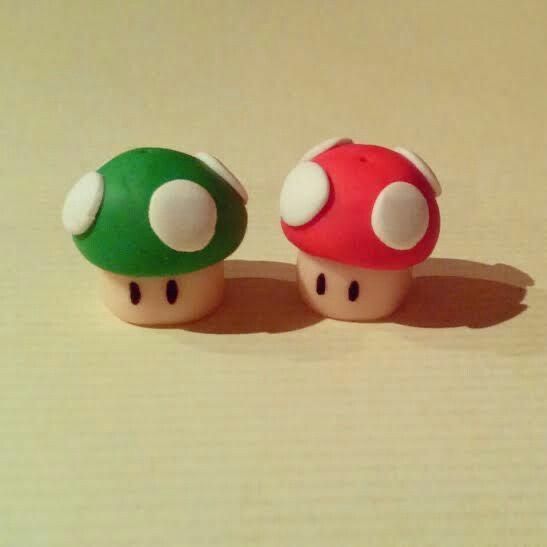
STEP 1: Start by rolling a ball of your favourite colour clay — red or green are classic choices if you're planning to give your mushroom a Super Mario look! Gently flatten the ball to create a dome shape for your mushroom's cap.
STEP 2: Roll out tiny balls of white clay and place them randomly on the cap to create those adorable spots.
STEP 3: Roll out a small, round ball of beige clay. Gently flatten the top and bottom to create a short, sturdy stem.
STEP 4: Carefully insert the stem into the bottom of the mushroom cap.
STEP 5: Bring your mushroom to life with tiny black eyes.
STEP 6: Smooth out any rough edges and your cute Super Mario baby mushroom is ready!
5. Clay ducky
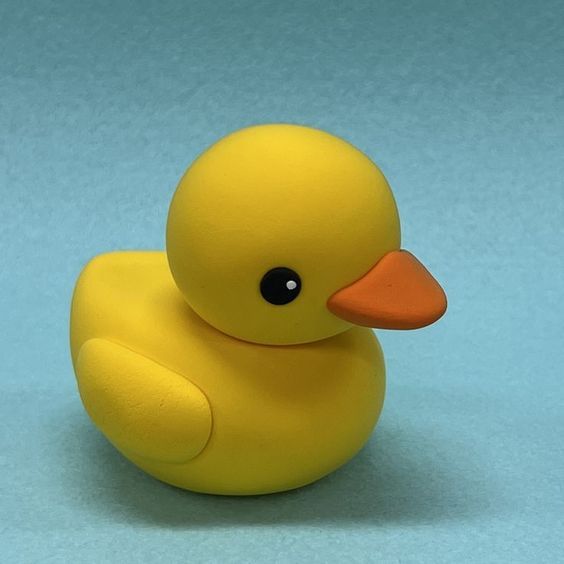
STEP 1: Take a large ball of yellow clay and roll it into an oval shape. Flatten the oval slightly to form the duck's body.
STEP 2: Make a smaller ball of yellow clay for the head. Attach the head to the body using a toothpick for better balance.
STEP 3: Roll a small piece of orange clay into a triangle shape for the beak. Flatten the base of the triangle and attach it to the head.
STEP 4: Make two small black balls for the eyes. Flatten them slightly and attach them to the head.
STEP 5: Roll out two thin strips of yellow clay for the wings. Flatten them slightly and attach them to the sides of the body.
STEP 6: Gently smooth out any rough parts of the duck with your fingers.
Also let's clear something up — even though "clay dates" have been all over social media, this trend isn't just for couples
It's a vibe for everyone! Gather your squad for a clay party, or treat yourself to some much-needed "me time" with a solo sculpting session.
It's a perfect way to unwind, get your hands a little messy, and create something you can actually hold in your hands.

