14 Easy Arts & Crafts For Kids To Do With Stuff Lying Around The House
If you're running out of ideas.
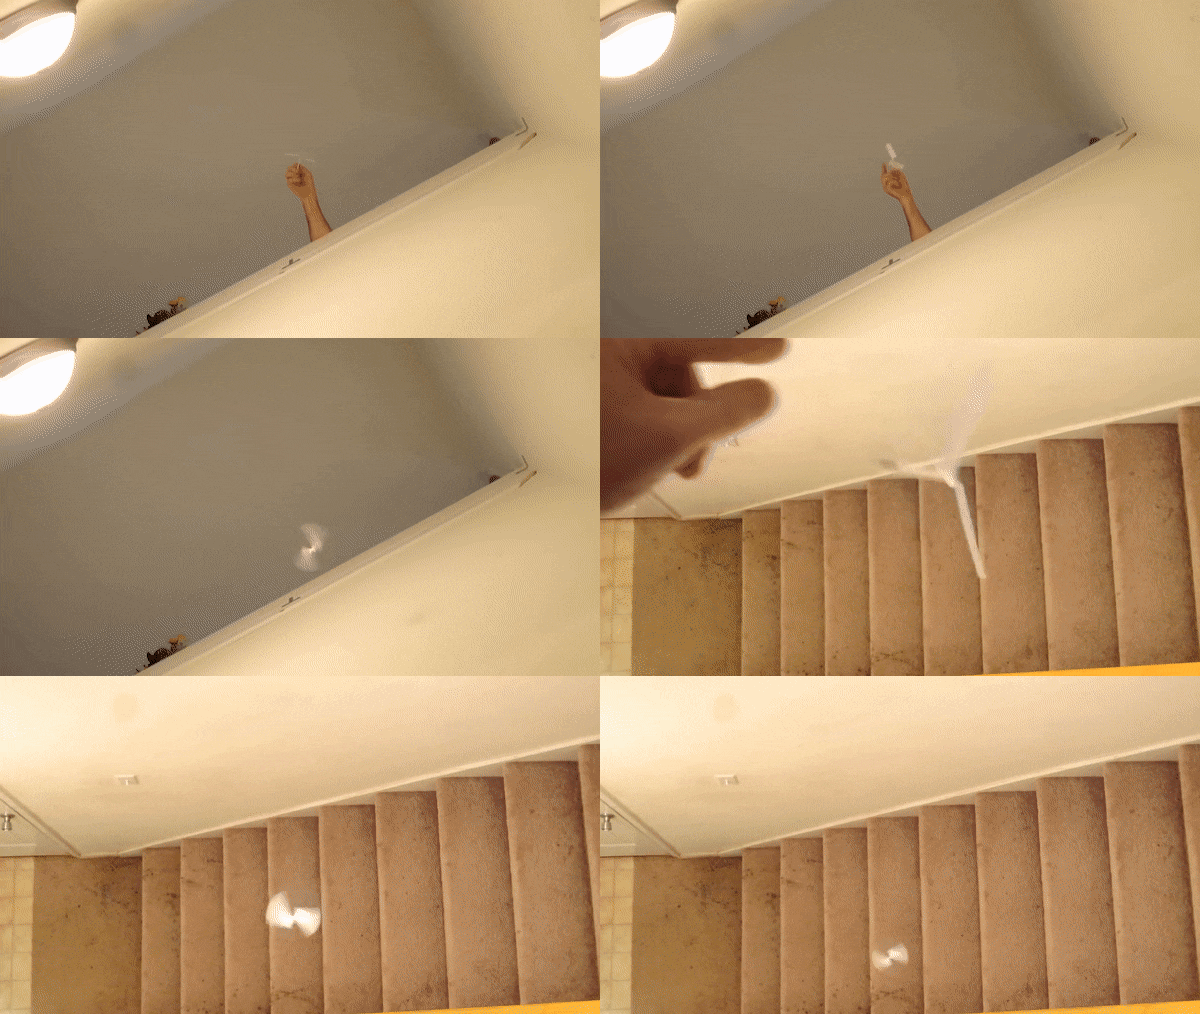
1. Paper helicopter
MATERIALS:
- Construction paper
- Scissors
- Paper clip
- Pencil
INSTRUCTIONS:
1. Cut a piece of paper about 2" by 8". The measurements don't have to be exact so don't worry if it's a little off.
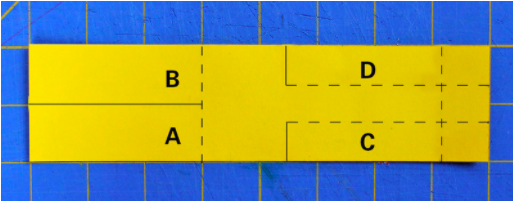
2. Use a pencil to draw the template above and cut along the solid lines.
3. Fold section C and D along the dotted lines.
4. Fold section A towards you and section B away from you.
5. Fold the bottom of section C and D towards you.
6. Tape the bottom part and add a paper clip to it - this is to hold the flaps down and adds a little weight to the helicopter.
7. Then throw it and watch it spin!
2. Straw painting
MATERIALS:
- Plastic straw (Or any metal straw you have at home)
- Watercolour paint/diluted food colouring/watered down tempera paint
- Art paper or any draft paper
INSTRUCTIONS:
1. Place the sheet of paper on a tray or on a table with a sheet underneath so it's easier to clean up after.
2. Cut a plastic straw in half.
3. Add a couple of paint drops to the paper.
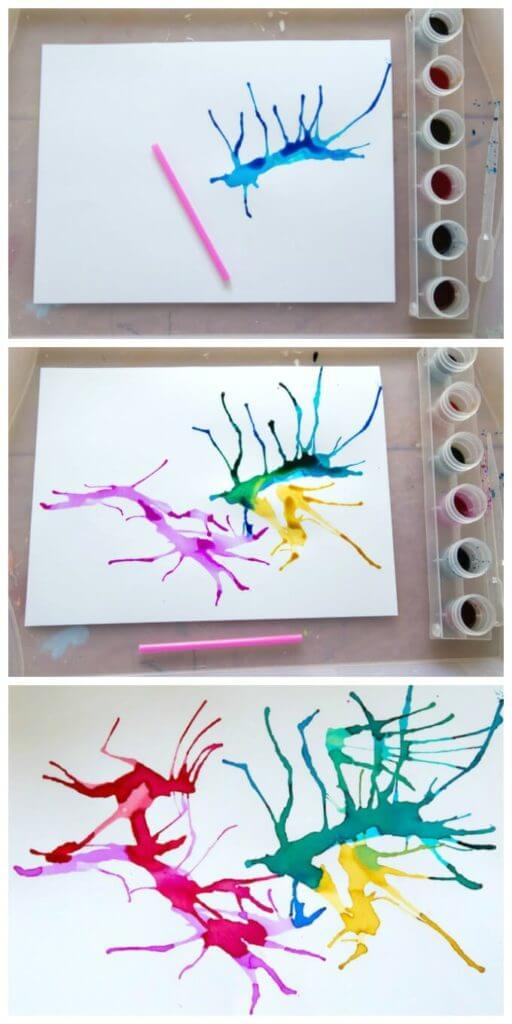
4. Blow through the straw at the paint drops so that it spreads across the paper to make different designs.
5. Repeat with different coloured paint drops if you'd like. It's fun to watch multiple colours mix together to create patterns.
3. Draw on the "wall"
MATERIALS:
- Cardboard box
- Markers
INSTRUCTIONS:
1. Give them a cardboard box to sit inside.
2. Pass them markers and tell them they can draw on their new "wall".
4. Telephone cup
MATERIALS:
- 2 paper cups
- Sharp pencil or needle
- Piece of cotton string or fishing line
- Scissors
INSTRUCTIONS:
1. Cut a long piece of string (you can experiment by making it pretty long or start with 20m).
2. Poke a needle or sharp pencil into the bottom of each paper cup.
3. Pull a string through each hole in the cup and tie a knot at the end of each side to stop it from pulling through the cup. Optionally, you can tie it to a paper clip to keep the string from coming out.
4. Get a parent or sibling to hold one end of the cup at a distance until the string is slightly taut then try talking softly. The paper cup will be able to transmit your sound vibrations across the string!
5. Rolling foot
MATERIALS:
- Art block paper or cardboard paper
- Tape
- Two sticks or cotton buds
- Straw
- Pencil
- Scissors
INSTRUCTIONS:
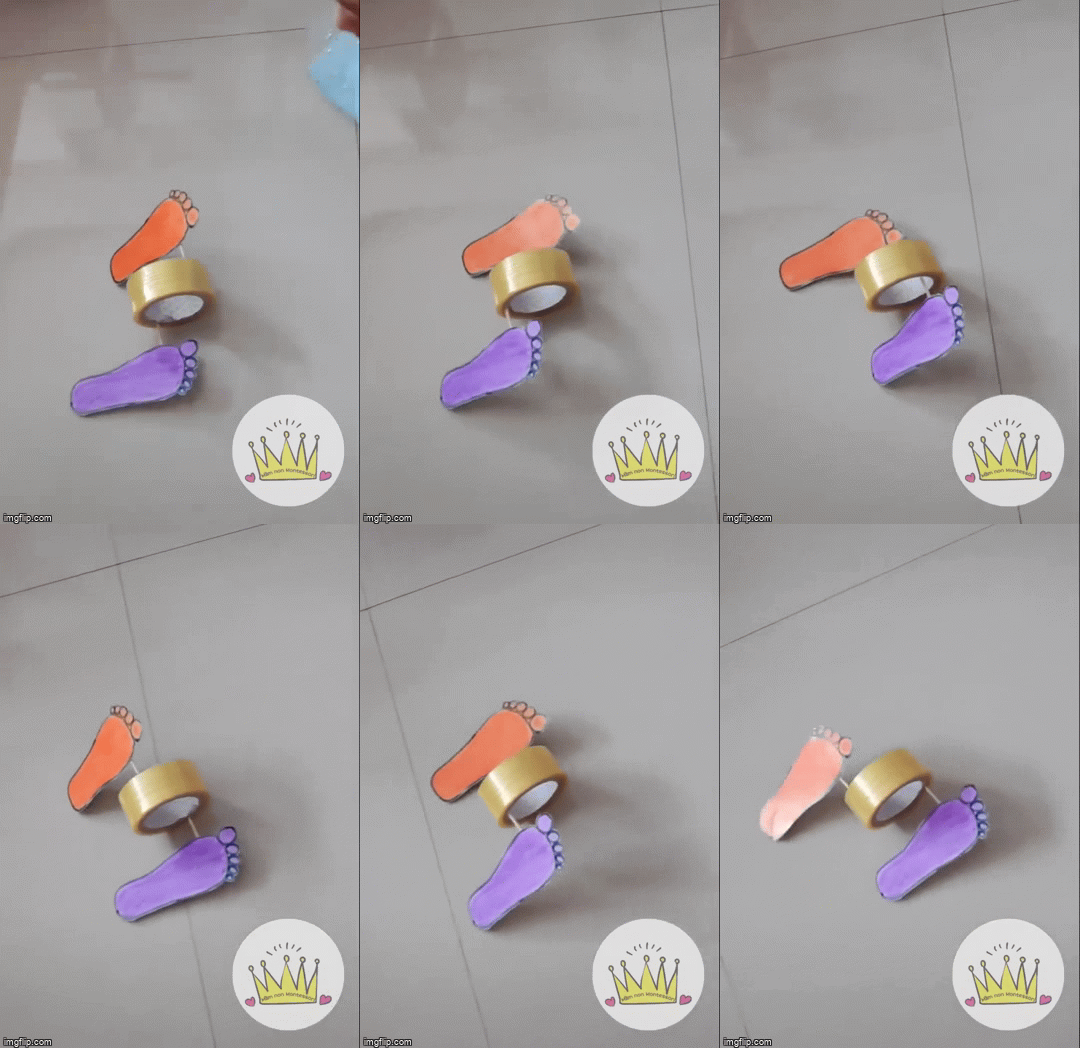
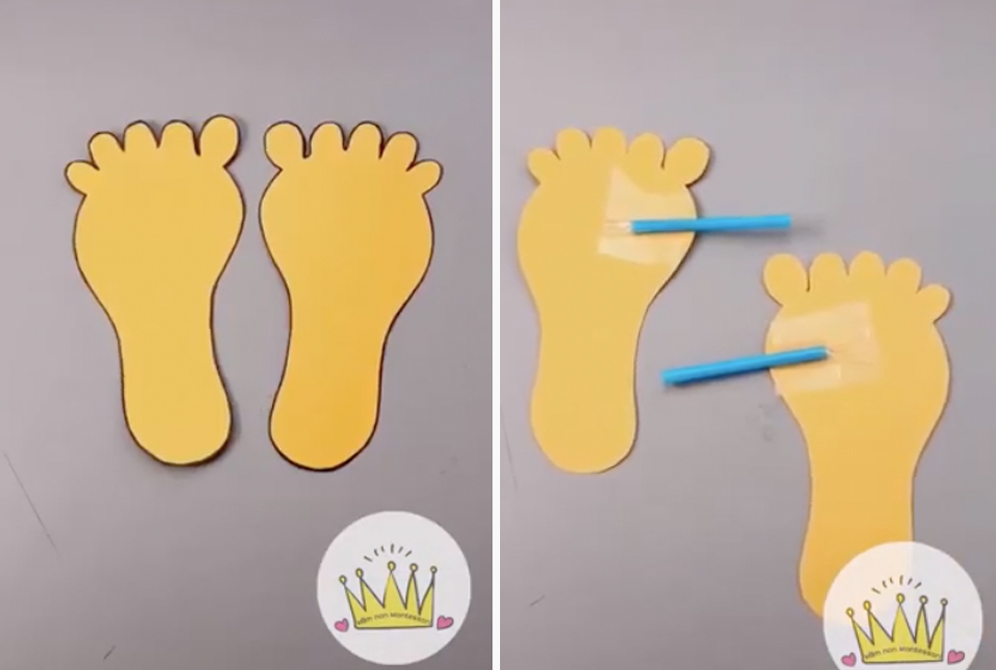
1. Trace your child's feet or your own on a sheet of art block or cardboard paper, then cut them out.
2. Tape a straw to each cut-out foot.
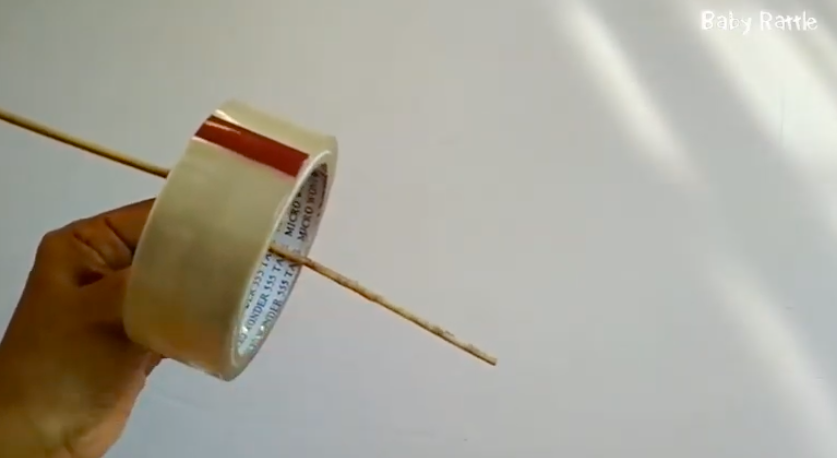
3. Duct tape the end of two sticks or cotton buds on either side of the tape roll.
4. Slot the straws with paper feet into each stick and roll the tape! Then, watch the little feet scamper off.
You can watch a quick tutorial here.
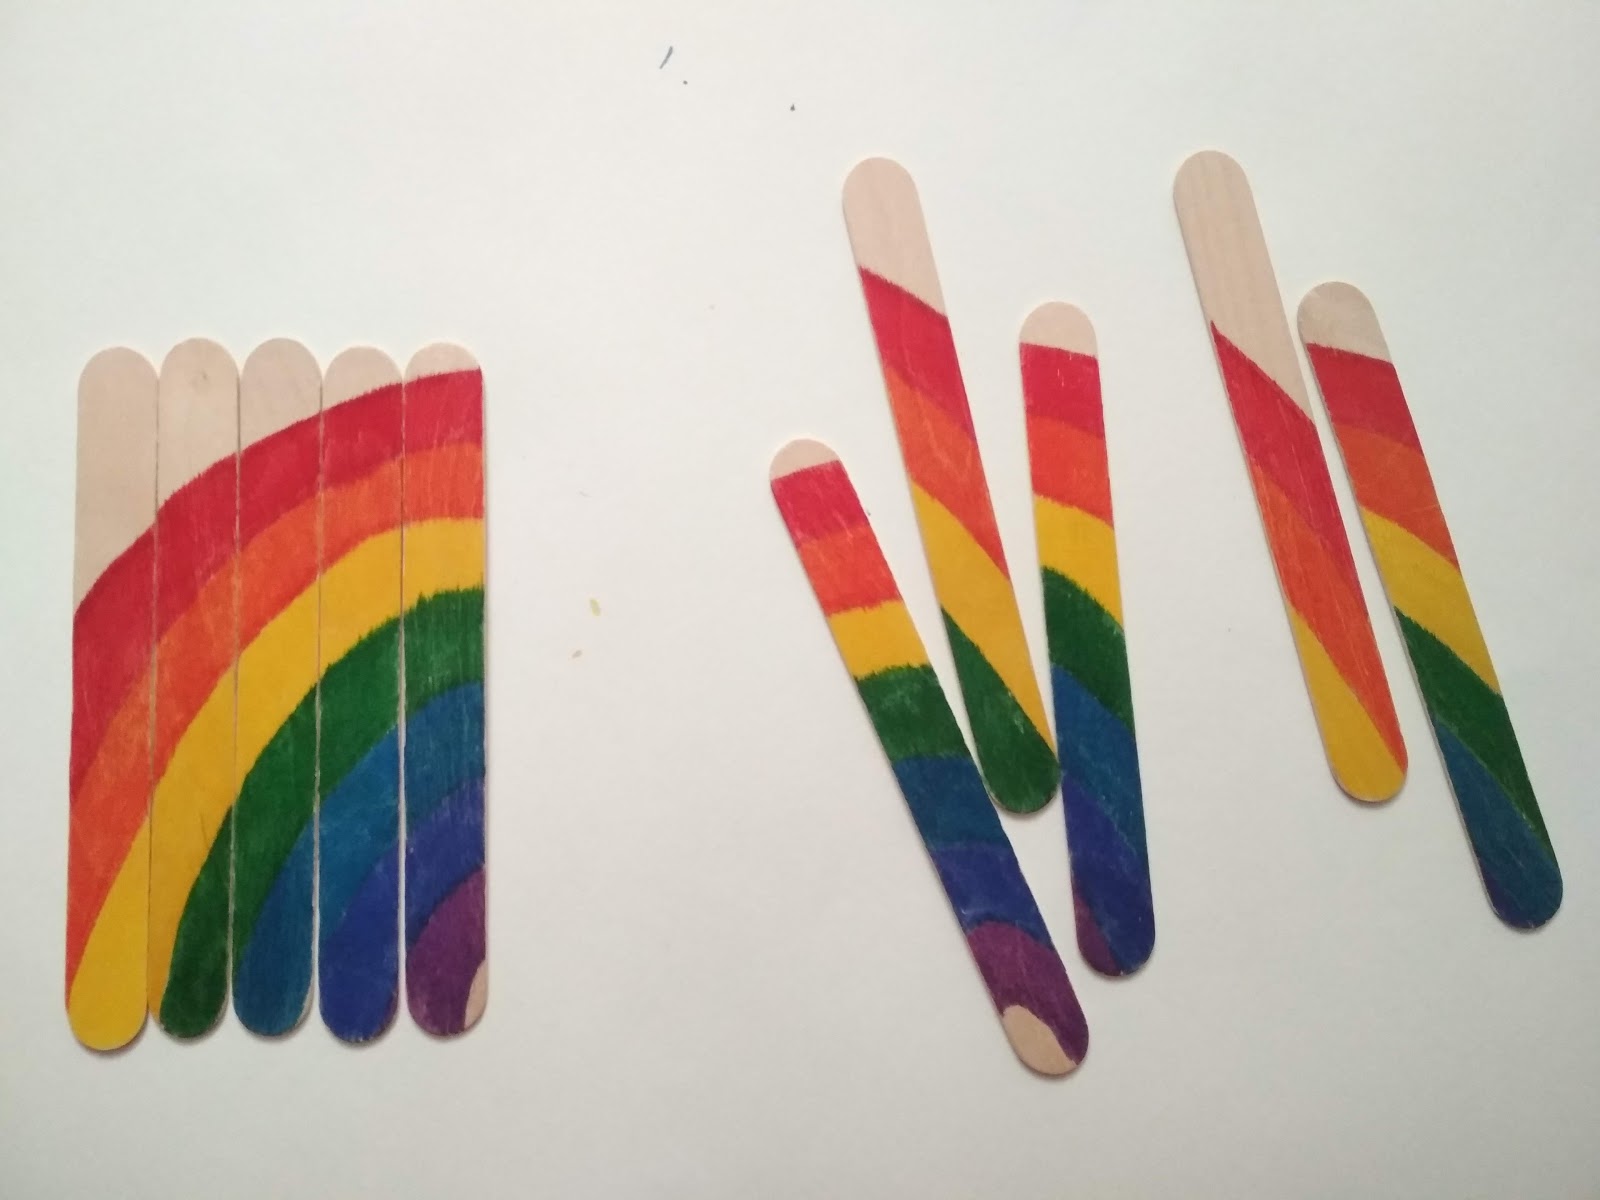
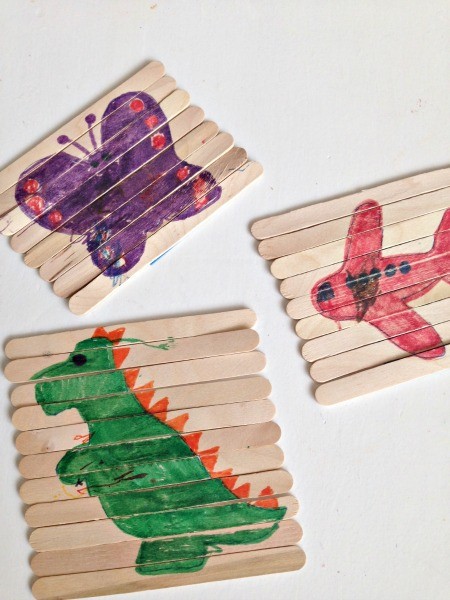
6. Jigsaw puzzle ice cream sticks
MATERIALS:
- Ice cream sticks
- Paint and paint brushes or markers
- Masking tape
INSTRUCTIONS:
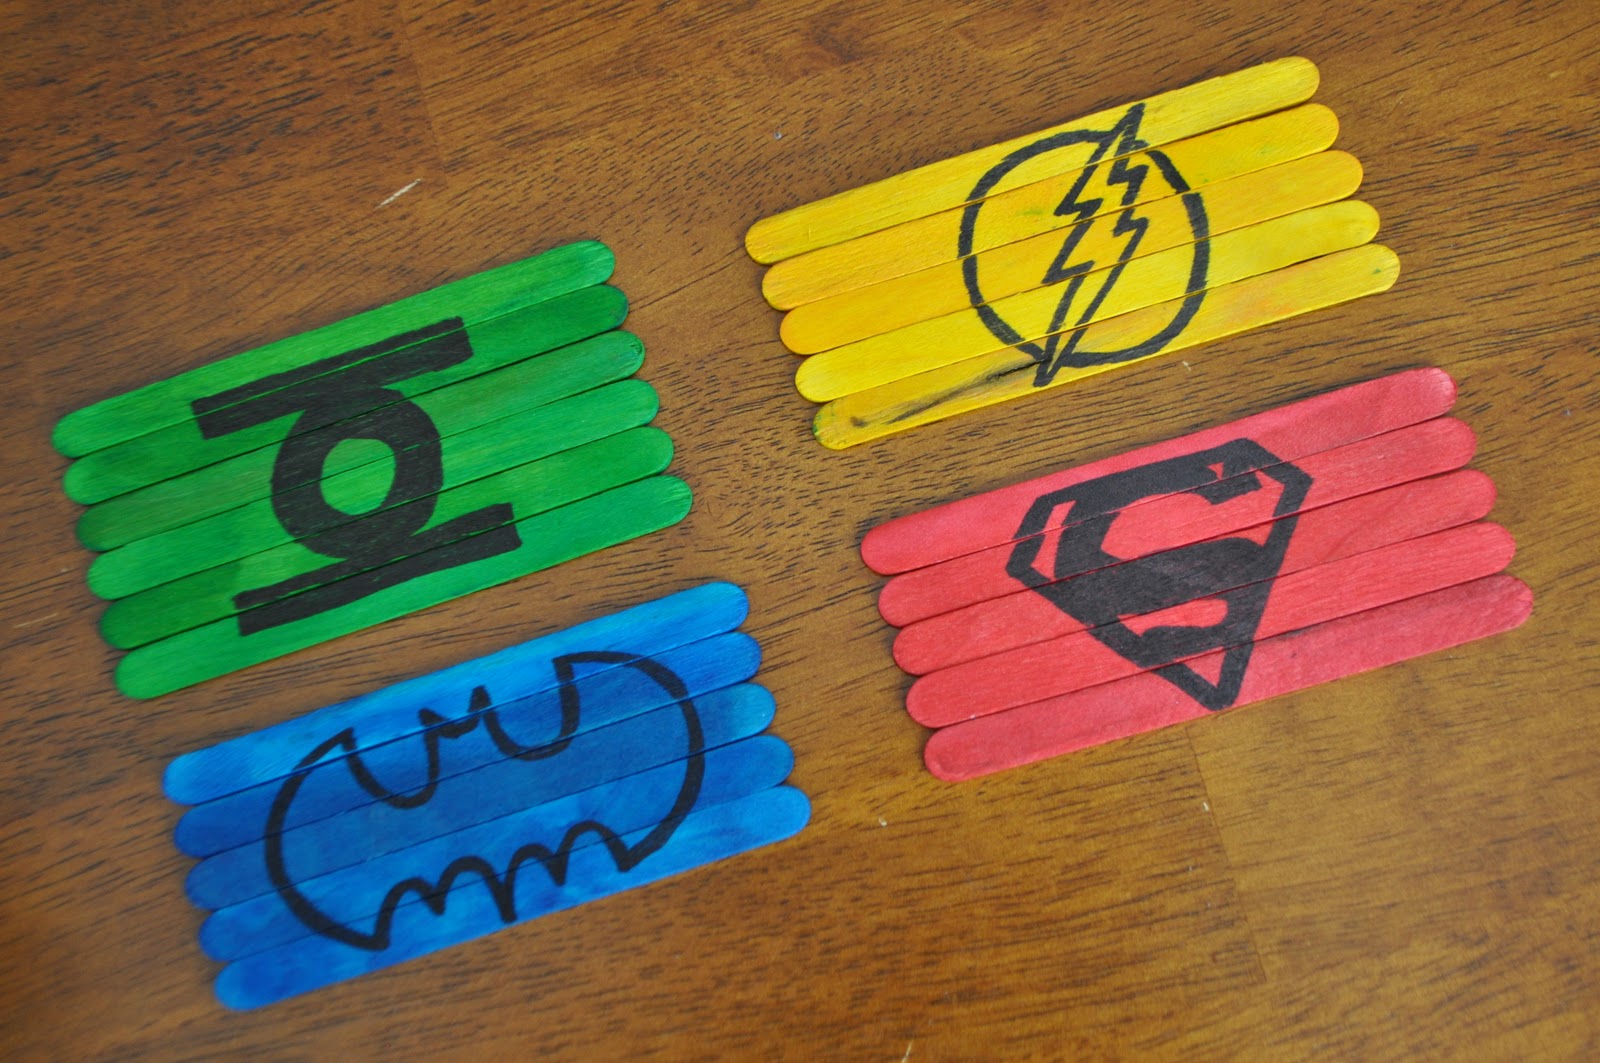
1. Start by taping the back of the ice cream sticks together. This is just so it can stay in place while you paint.
2. Using paint or markers, paint/draw the design you want on the ice cream sticks. You can also use a pencil to trace it out first before going in with the paint or markers.
3. Leave it to dry once completed.
4. Once it's dry, remove the tape behind the ice cream sticks and mix the sticks all up. Then, try to put it back together again or swap your puzzle with another sibling's version and try to form the picture!
5. You can also continue to make various versions of other designs. The more detailed your painting or drawing, the harder the puzzle will be to solve!
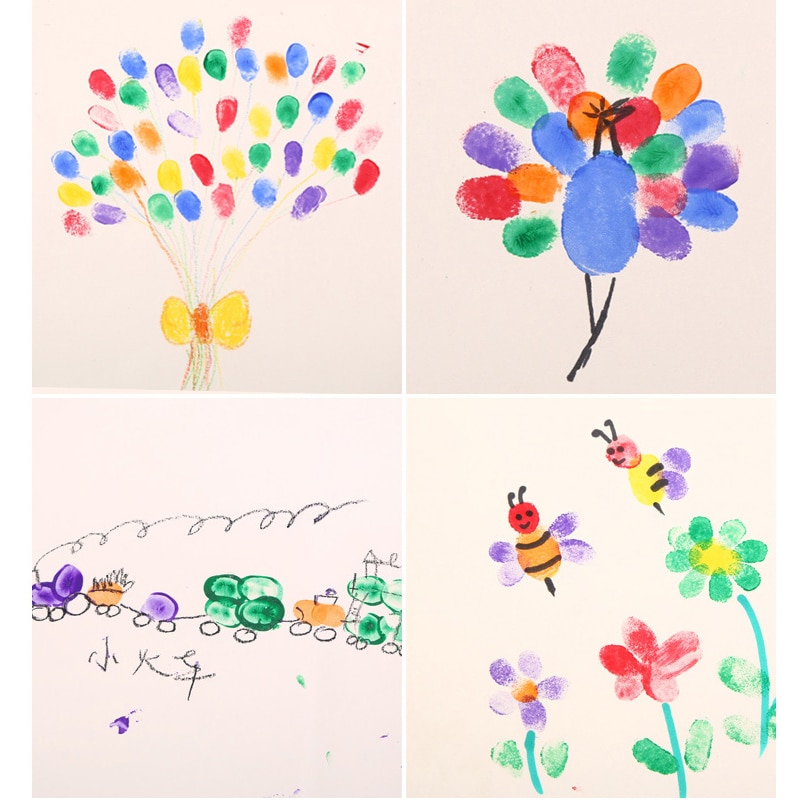
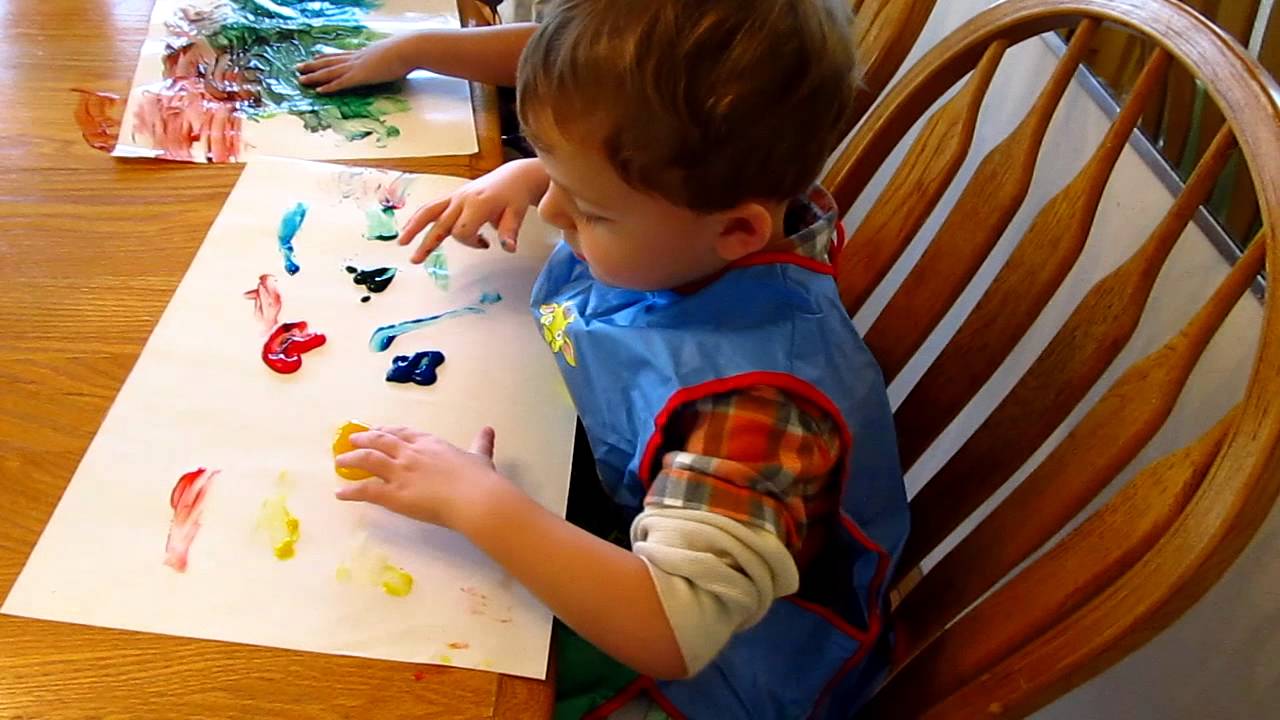
7. Finger painting
MATERIALS:
- Washable paint
- Art block paper or rough paper
- Your child's hands
INSTRUCTIONS:
1. Lay out the paper on a table or floor.
2. Put a couple of paint colours into a paint palette or a paper plate.
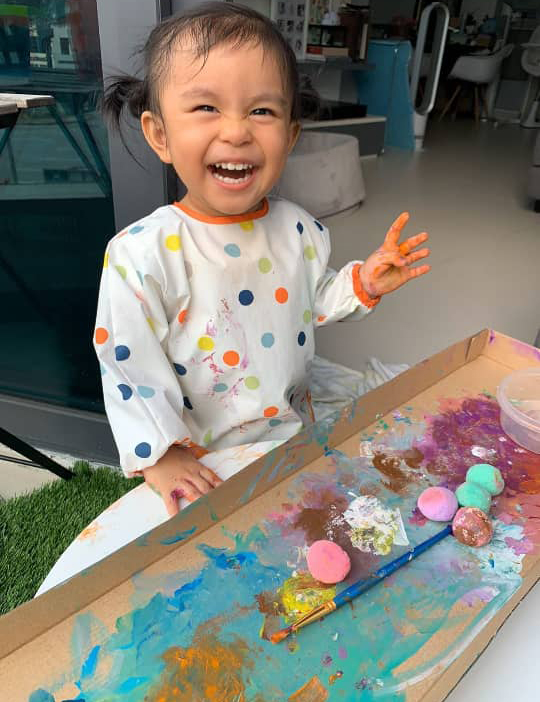
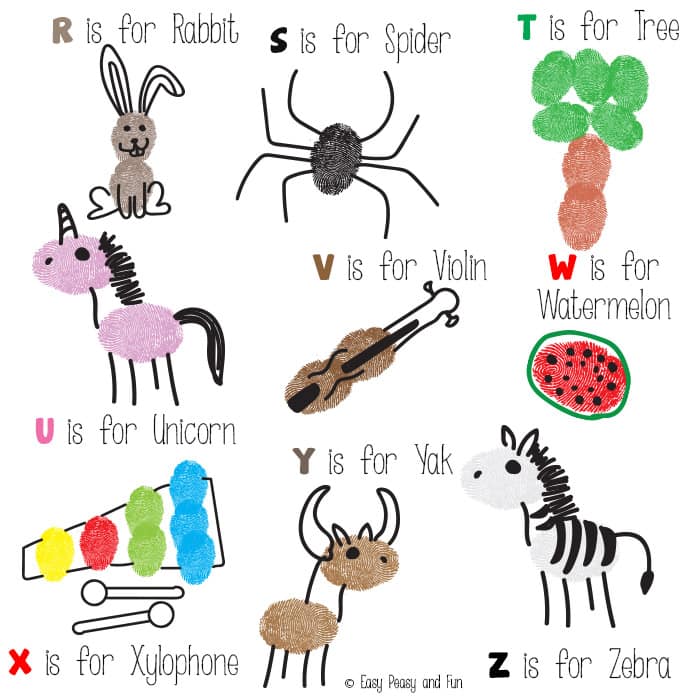
3. Get your child to dip one finger at a time into the paint and press it against the paper to make animals, trees, and balloons, or whatever design they please!
4. You can also let it dry after and add in details with a pen.
8. Birdhouse with old milk or juice carton
MATERIALS:
- Cleaned out, used milk or juice carton
- Ice cream stick or any small twigs
- Scissors/Blade
- Puncher
- Piece of string or wire
- Hot glue gun or any strong glue (Optional)
- Stickers or paint (Optional)
- Birdseed
INSTRUCTIONS:
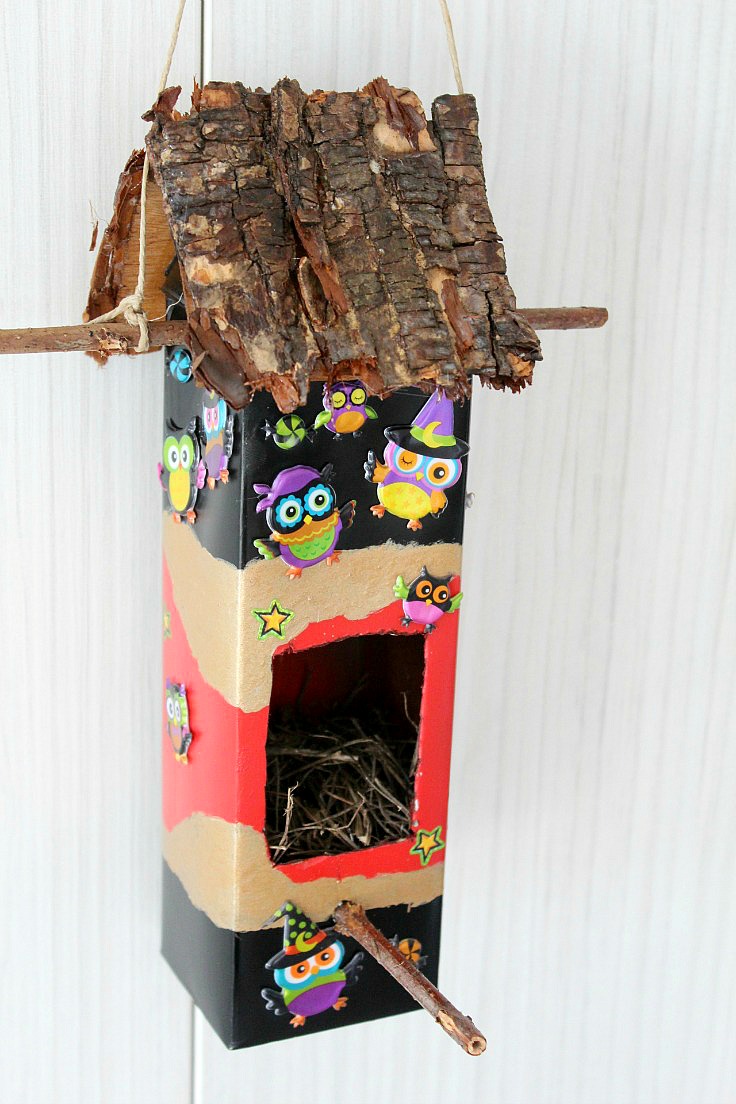
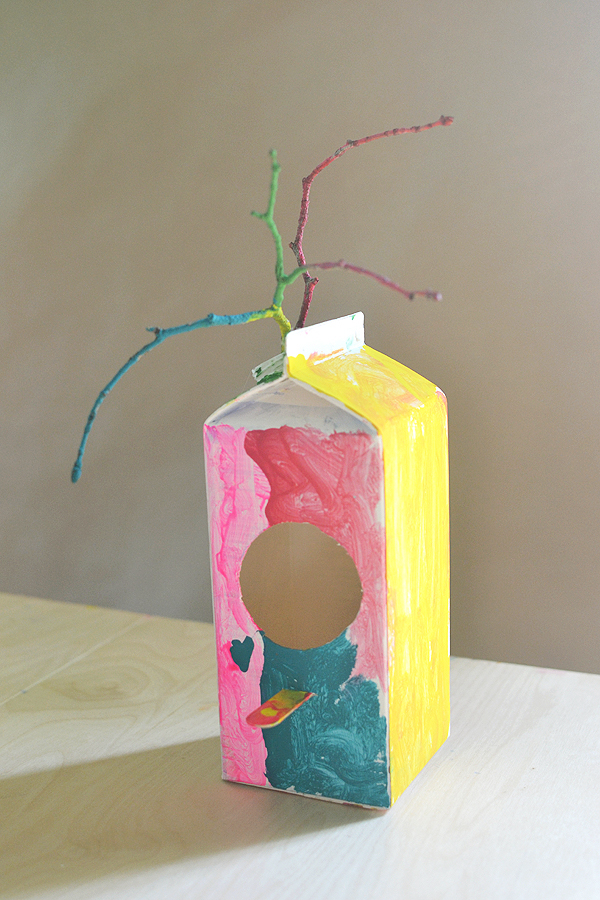
1. Using a blade, cut a hole big enough for a small bird to perch on at the side of the milk carton. Parents might need to help children with this part.
2. Let your child paint the outside. After it dries, decorate the milk carton with whatever materials around the house (e.g. buttons, stickers, washi tape, sticks, etc.) Get creative!
3. Punch a hole at the top of the carton and tie a string or wire. This is to hang the birdhouse somewhere outside your home.
4. Using a hot glue gun, attach an ice cream stick about 1cm below the cut-out hole. This is for the bird to perch on while it eats. Optionally, you can punch a hole and slot a small stick/twig through it.
5. Fill the birdhouse with birdseed and hang it in the garden or on a tree for the birds to enjoy!
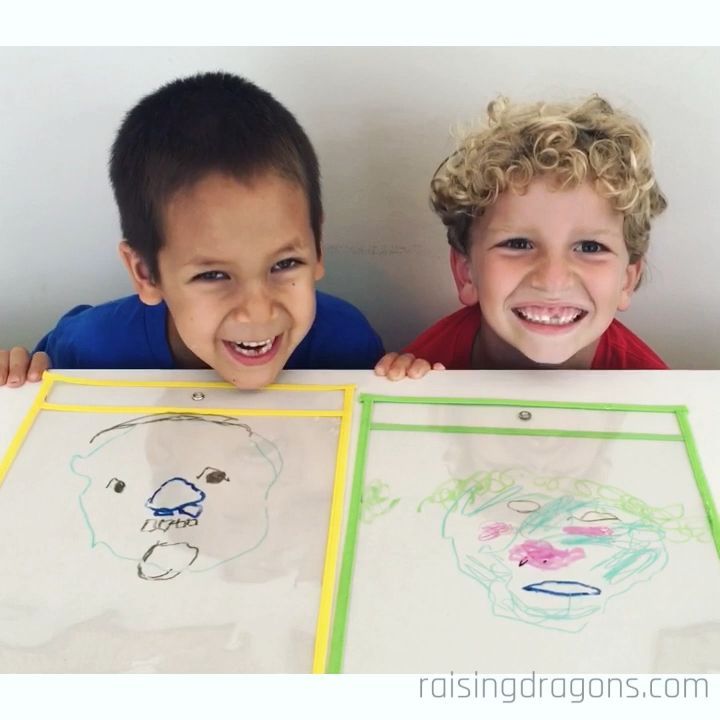
9. Sheet protector portraits
MATERIALS:
- Transparent plastic sheets
- Erasable markers
INSTRUCTIONS:
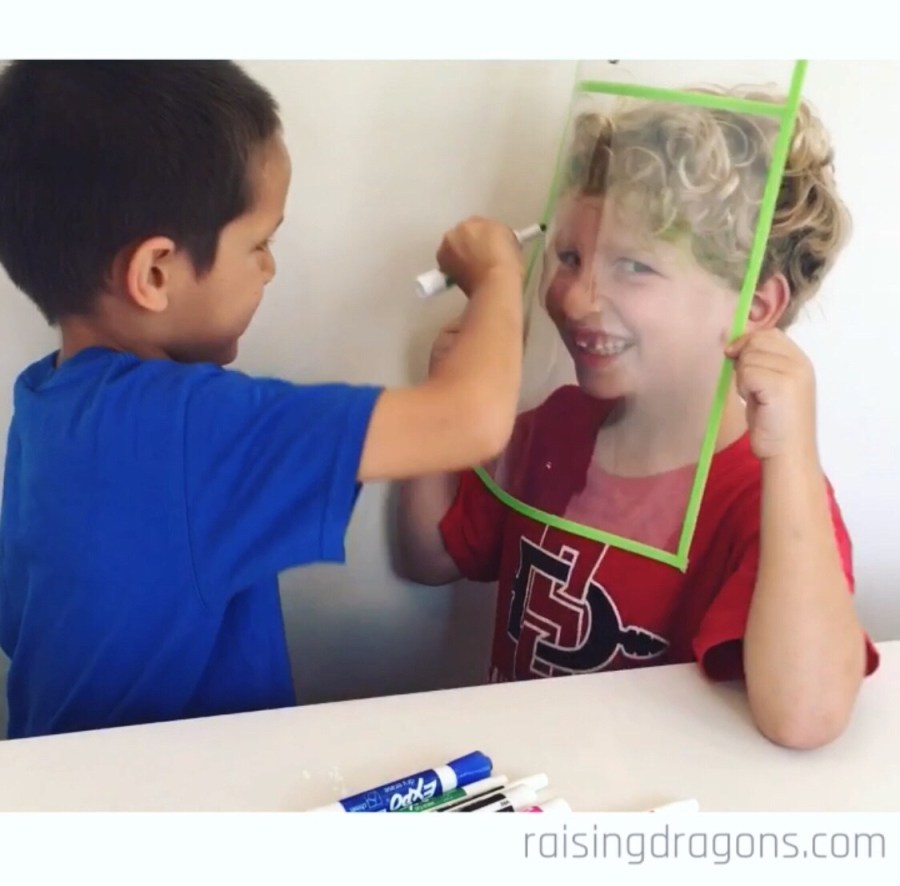
1. Have one child hold up a sheet to his/her face.
2. Get the other child to attempt to draw his/her sibling's face. And vice versa.
3. Once done, put the sheets down next to each other and giggle at the results!
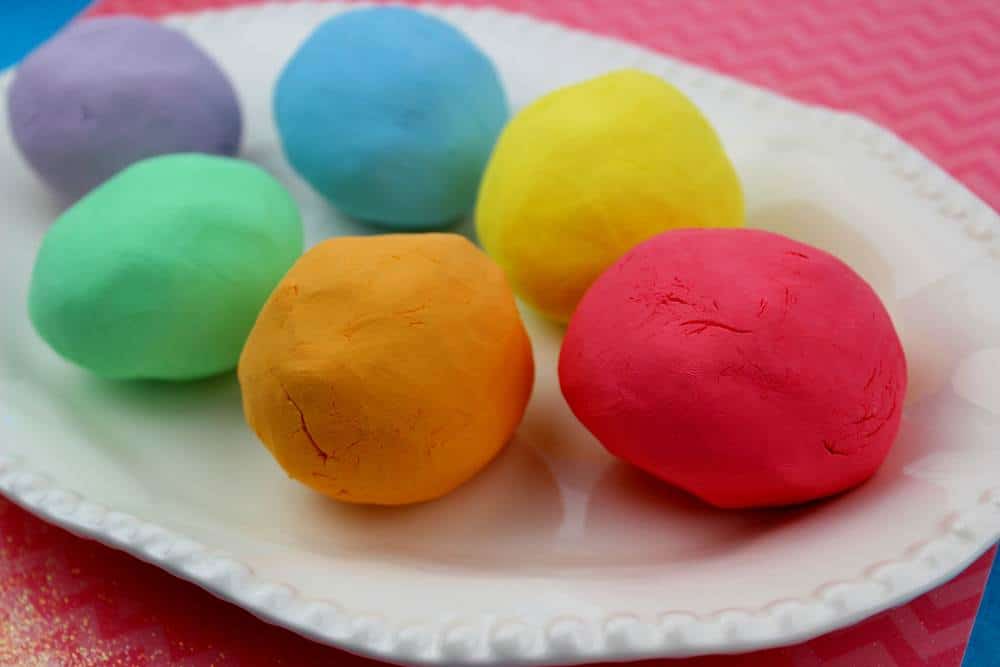
10. Homemade playdough
INGREDIENTS:
- 8 tablespoons plain flour
- 2 tablespoons salt
- 60ml warm water
- Food colouring
- 1 tablespoon vegetable oil
INSTRUCTIONS:
1. Mix the flour and salt in a large bowl. In a separate bowl, mix the water, a few drops of food colouring, and oil.
2. Pour the coloured water into the flour mixture and mix together.
3. Dust a bit of flour onto a table or flat surface and knead the dough for a couple of minutes.
4. Feel free to add a few more drops of food colouring to get a more intense colour.
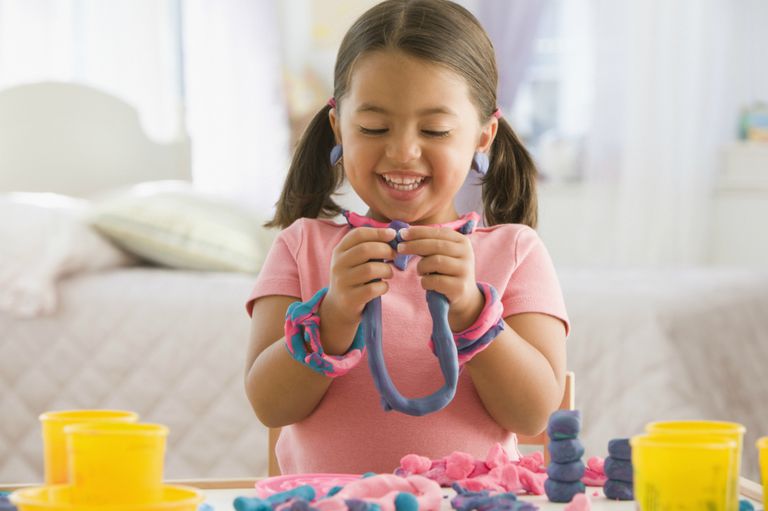
5. Let your child make different creatures or sculptures with the playdough! You reuse it by storing it in a sandwich bag and putting it in the refrigerator.
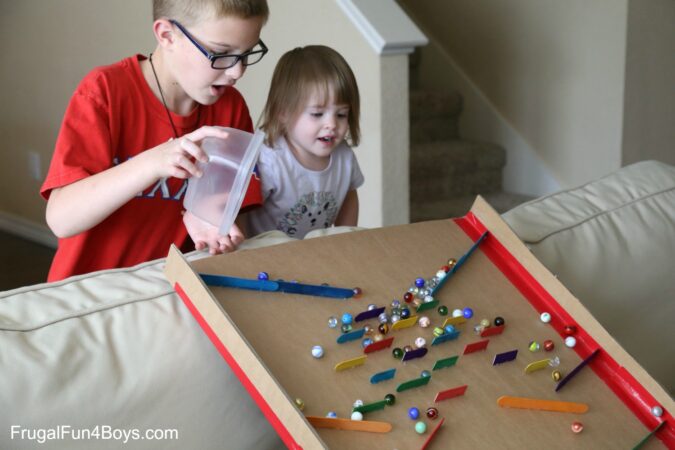
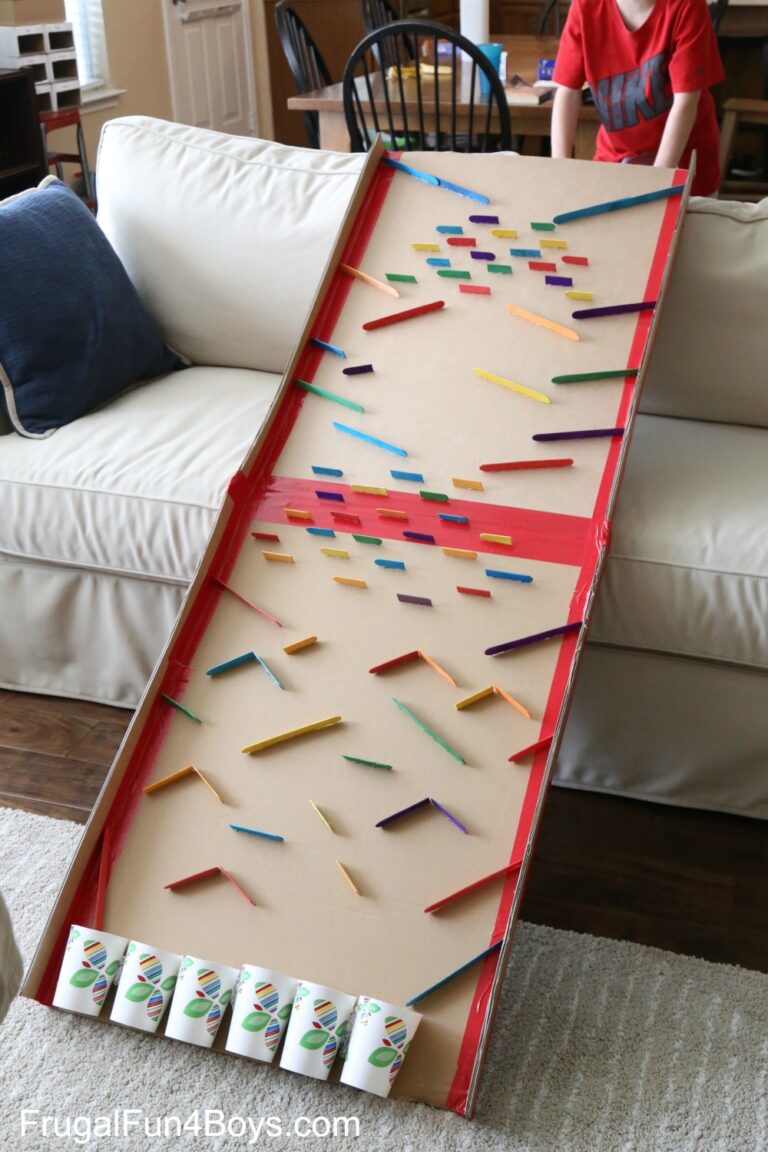
11. Cardboard box marble run
MATERIALS:
- Flattened cardboard box
- Ice cream sticks
- Marbles
- Paper cups
- Hot glue gun
INSTRUCTIONS:
1. Open up any old cardboard box so that it is flat. You can tape multiple cardboard boxes together depending on how big you want it to be.
2. Use a hot glue gun or tape to attach a couple of paper cups to the bottom of the flattened box. Cut off the cup rims so the marbles can roll in smoothly.
3. Glue the ice cream sticks in various diagonal positions all over the cardboard box to create a sort of maze track for the marbles.
4. Lay the whole thing diagonally against a couch or chair and start rolling marbles from the top! You can even turn it into a mini competition to see who can fill up their cup the fastest.
Get more detailed instructions on how to make it here.
Alternatively, you can make a marble run using old toilet paper rolls or cardboard box instead of ice cream sticks.
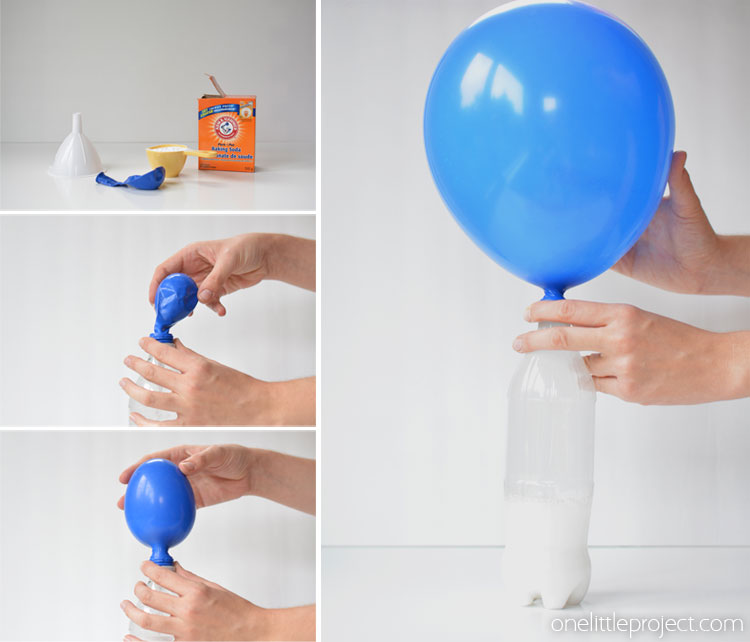
12. Do a simple science experiment with minimal materials
MATERIALS:
- 1 funnel
- 1 empty water bottle
- 1 balloon
- 1/3 cup baking soda
- 1 cup vinegar
INSTRUCTIONS:
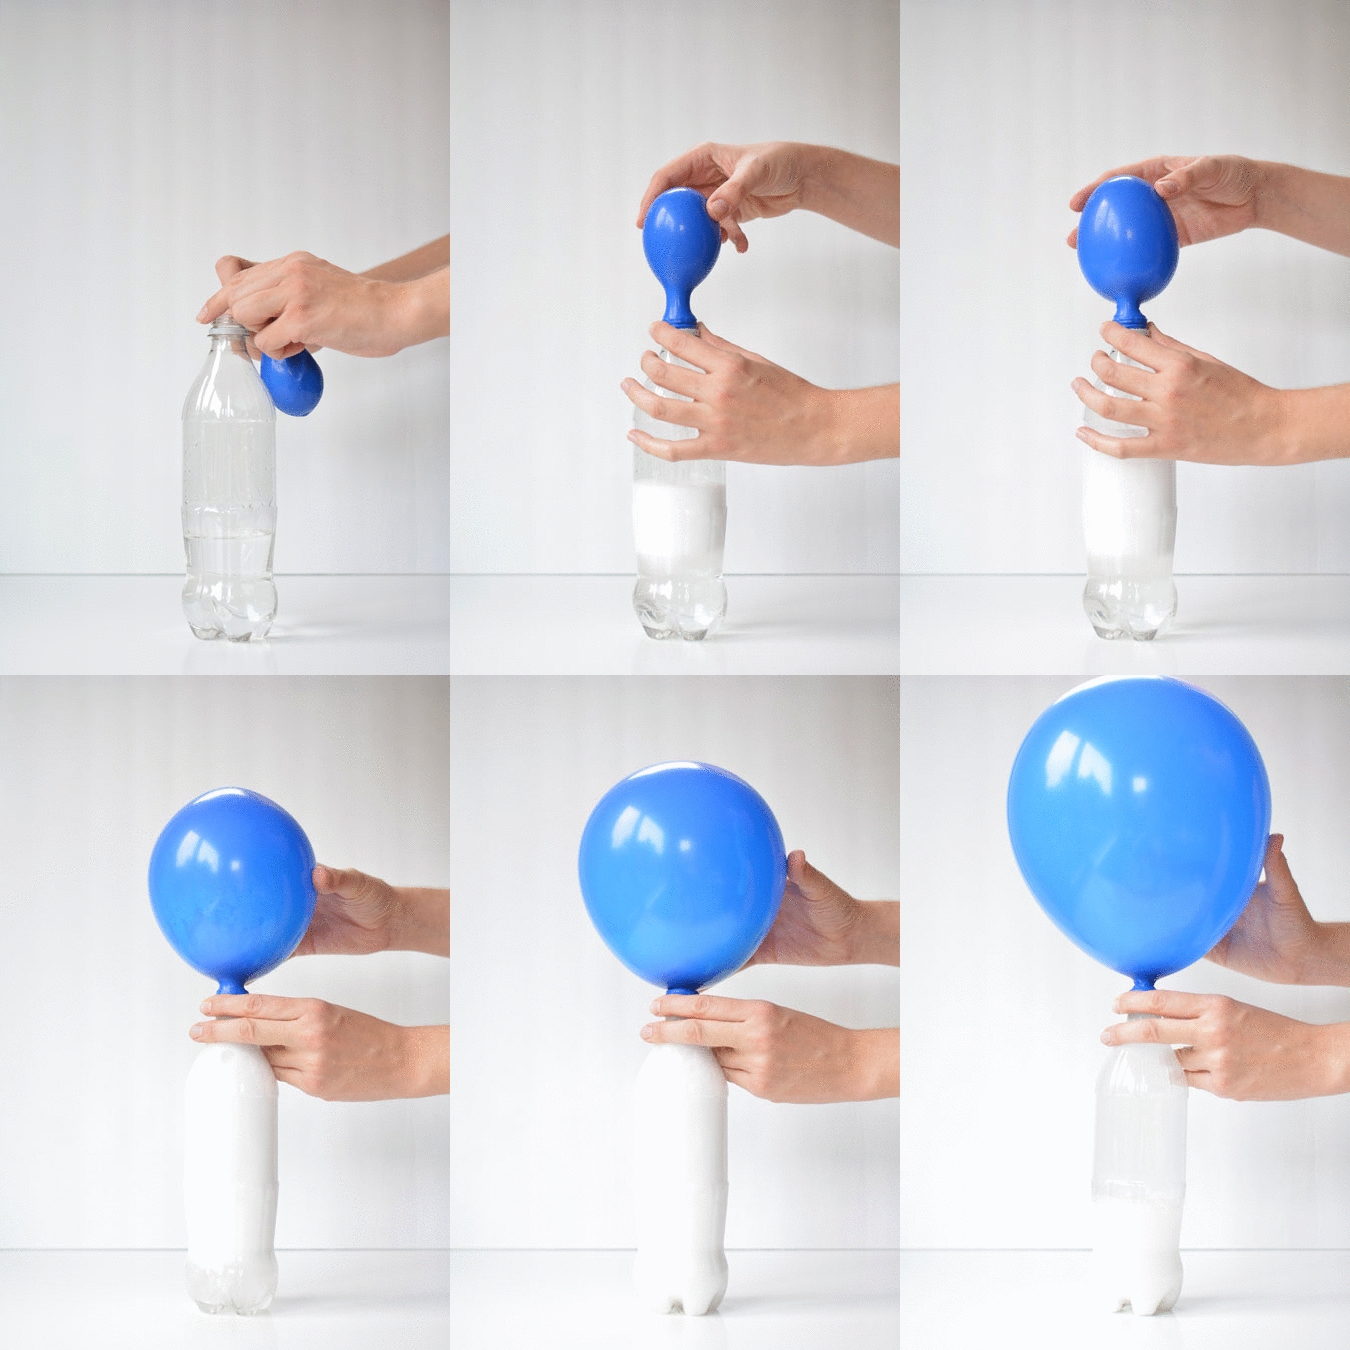
1. Use a funnel to add 1/3 cup baking soda to the inside of a balloon.
2. Fill a plastic bottle with about one cup of vinegar.
3. Attach the balloon to the mouth of the plastic bottle, then slowly lift the balloon upright so the baking soda falls into the vinegar and causes the reaction.
4. You will notice the balloon immediately inflate on its own!
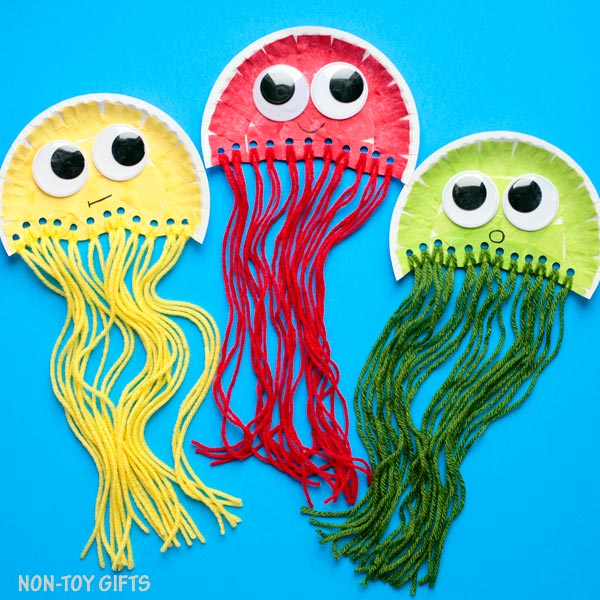
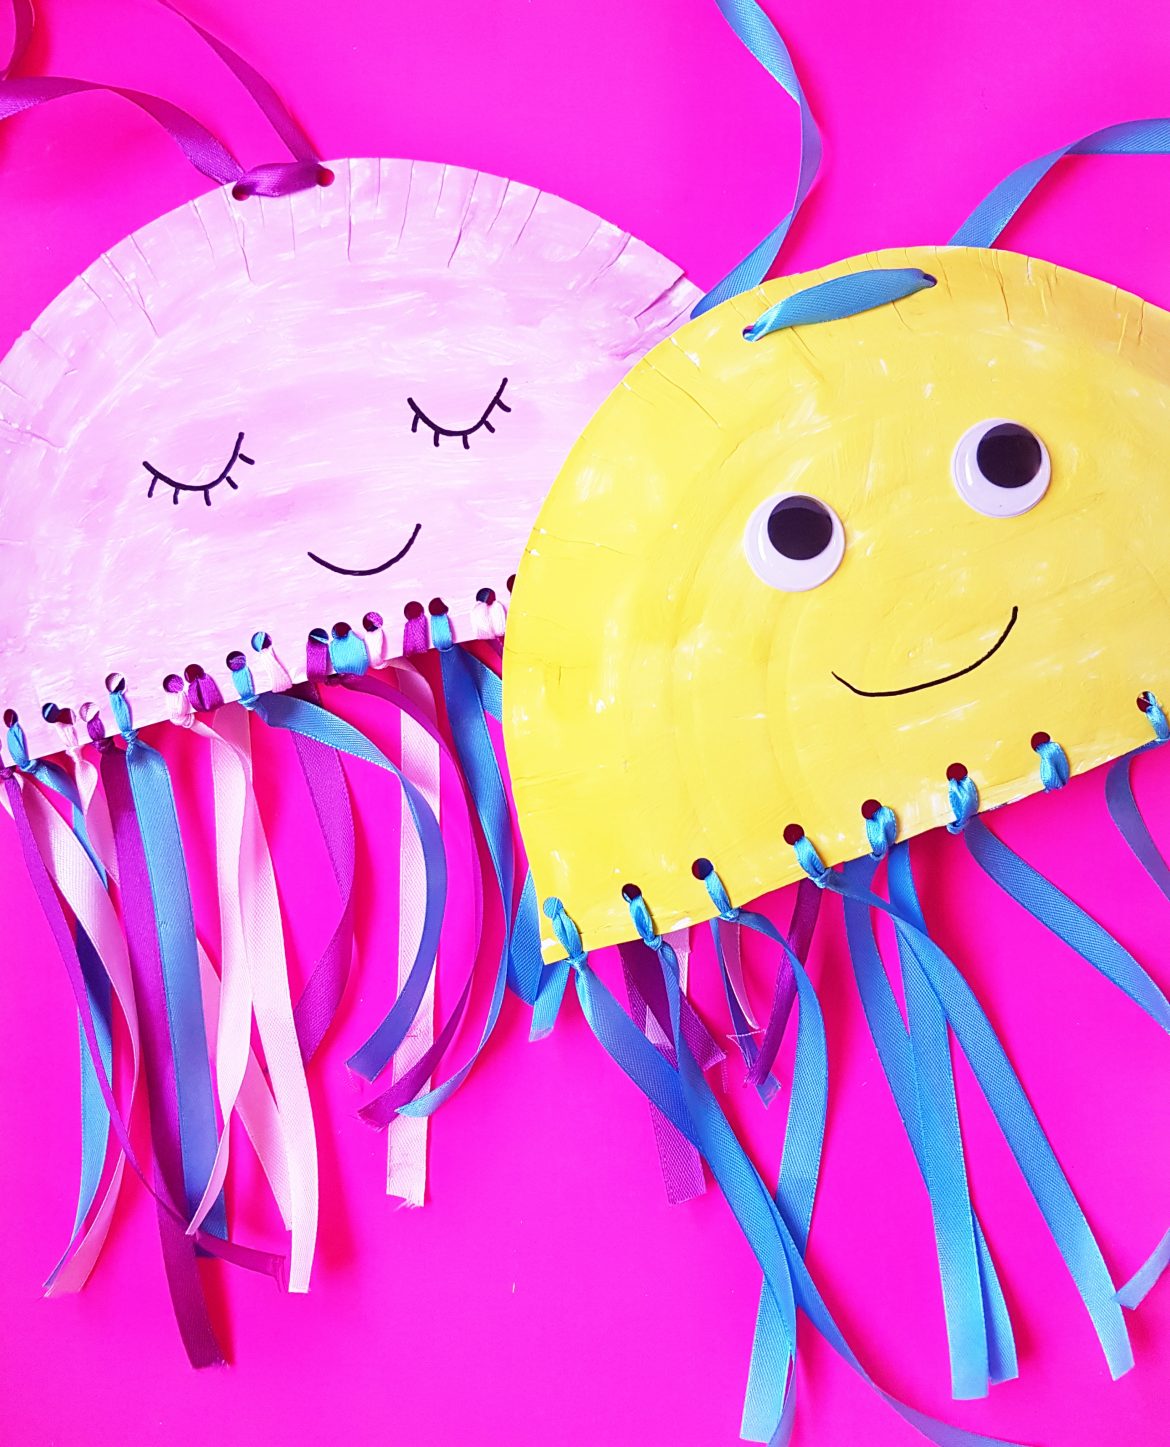
13. Jellyfish paper plate
MATERIALS:
- Paper plate
- Scissors
- Glue
- Puncher
- String/Crêpe paper or any other soft material that can be used as tentacles
- Colourful tissue paper or paint (Optional)
- Googly eyes or marker pen
INSTRUCTIONS:
1. Draw a wavy line across the middle of the paper plate and cut along the line.
2. Cut or tear up the tissue paper and glue it onto the plate. You can also paint directly onto the paper plate instead. This step is optional.
3. Use a hole puncher to make several holes at the bottom of the plate. Or cut up strips of
crêpe paper to stick on as tentacles.
4. Cut several pieces of string into roughly the same length and pull them through the holes. Or paste the crêpe paper at the bottom of the plate.
5. Draw with a marker or glue on googly eyes!
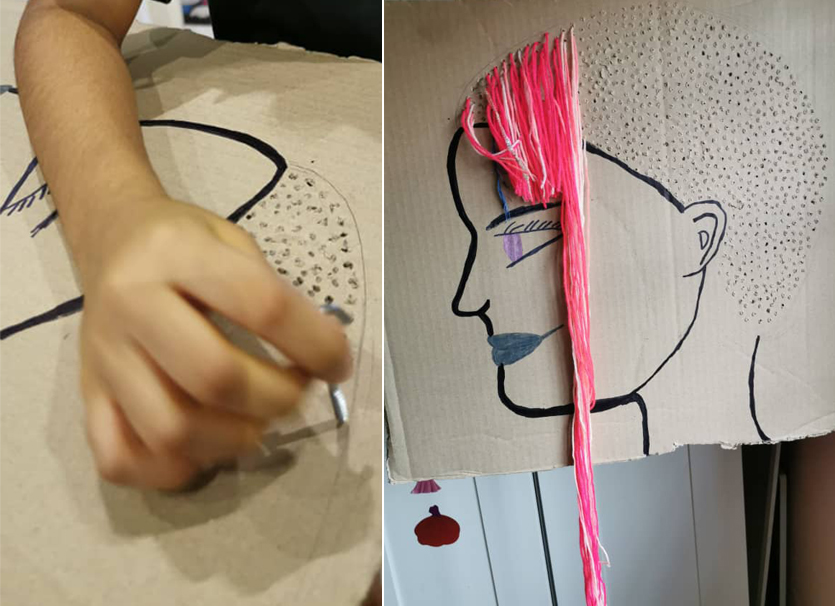
Alternatively, you could also do this:
1. Draw a face with a marker on a piece of cardboard or construction paper.
2. Poke strips of thread through the scalp to create "hair"!
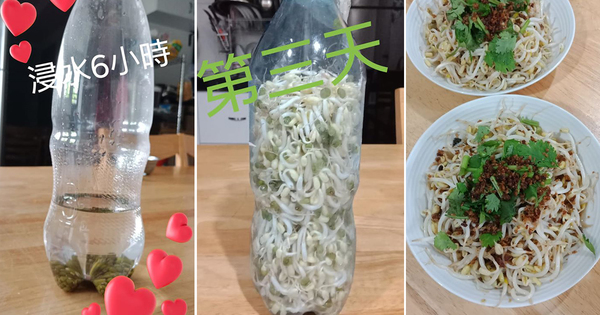
14. Grow 600g of bean sprouts or taugeh in five days
A Malaysian lady recently went viral on social media for sharing how she grew 600g worth of taugeh in five days. You can try this out with kids too!
MATERIALS:
- Plastic bottle
- Water
- Green beans
INSTRUCTIONS:
1. Soak one and a half spoons of green beans in a plastic bottle of water for six hours.
2. Pour the water out and put a gauze over the spout.
3. Continue to water the beans three times a day with cold water.
4. Over the course of five days, you will see bean sprouts begin to appear.
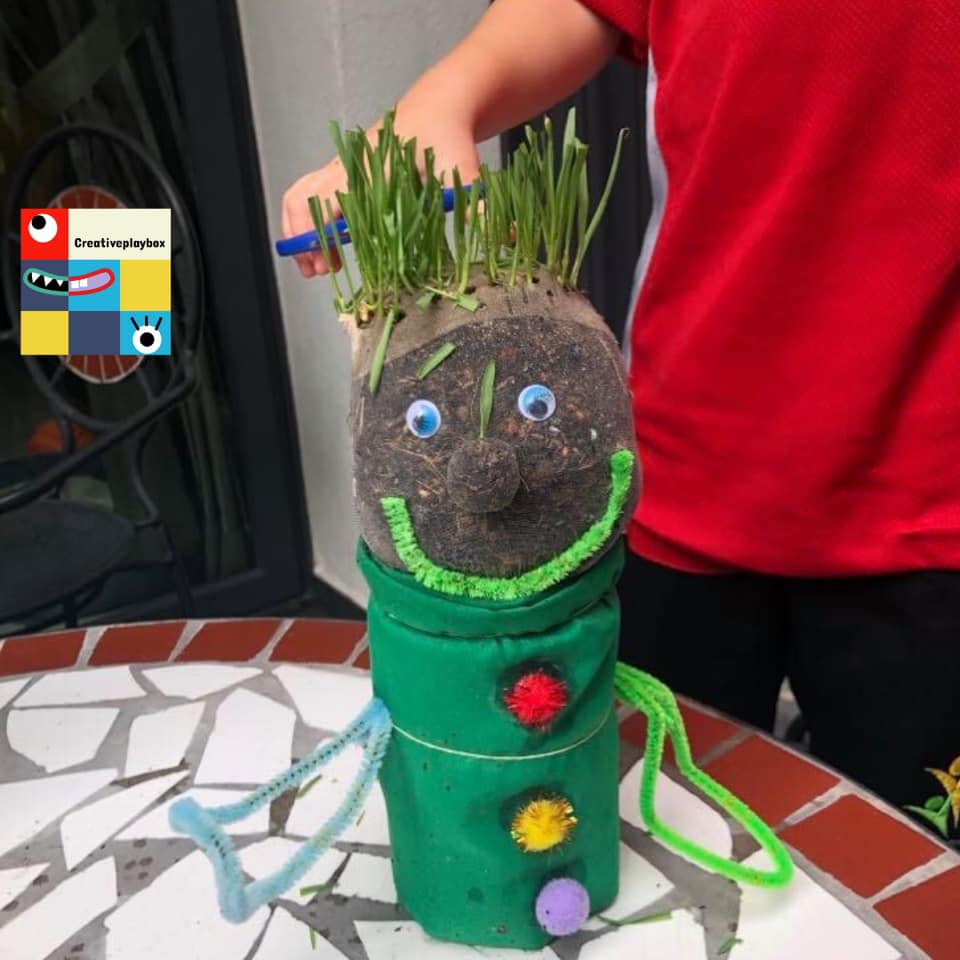
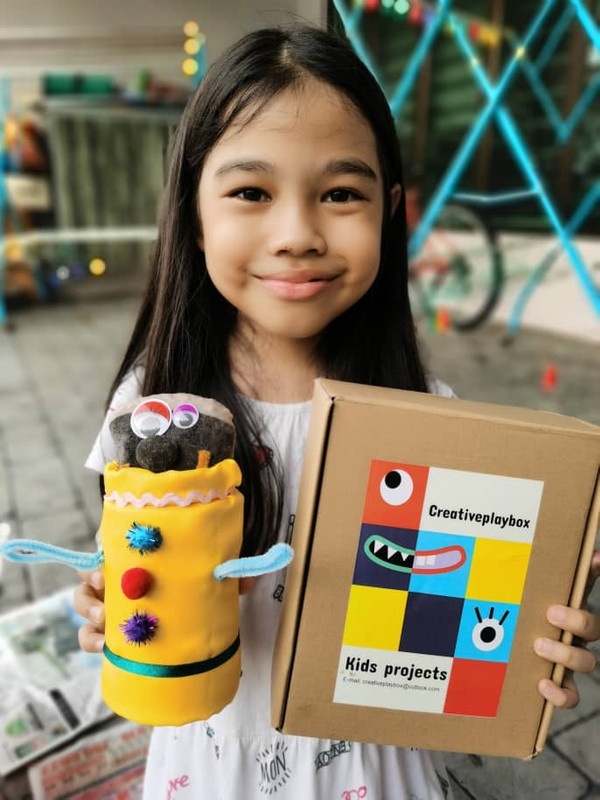
Alternatively, you can get a box of supplies from Creativeplaybox - a local startup that provides kids with fun projects.
They have a 'Grow Your Own Grass Head' box where children are provided materials to nurture their own grass head!
